How Is a Roof Truss Repaired? Techniques & Tips
When roof damage strikes—whether from storms, aging materials, or structural stress—understanding the right truss repair techniques can save property owners from costly long-term issues. In this article, we’ll walk you through how roof trusses are repaired, what causes damage in the first place, and when it’s time to call in a professional.
Whether you manage a commercial facility or own a home in a storm-prone area like Florida, this guide breaks down the process in clear, practical terms. You’ll gain insights into what to watch for, repair options to consider, and how to choose the right contractor for the job.
Here’s what we’ll cover:
- What Is a Roof Truss and Why It Matters
- Common Causes of Roof Truss Damage
- Signs You May Need Truss Repair
- Step-by-Step Overview of Truss Repair Techniques
- DIY vs. Professional Truss Repair — What You Need to Know
- How Much Does Roof Truss Repair Cost?
- Why Choose RayPro for Your Truss Repair
- Conclusion: Get Ahead of Truss Damage Before It Gets Worse
Let’s start by looking at what a roof truss actually is—and why it plays such a critical role in your structure’s safety.
What Is a Roof Truss and Why It Matters
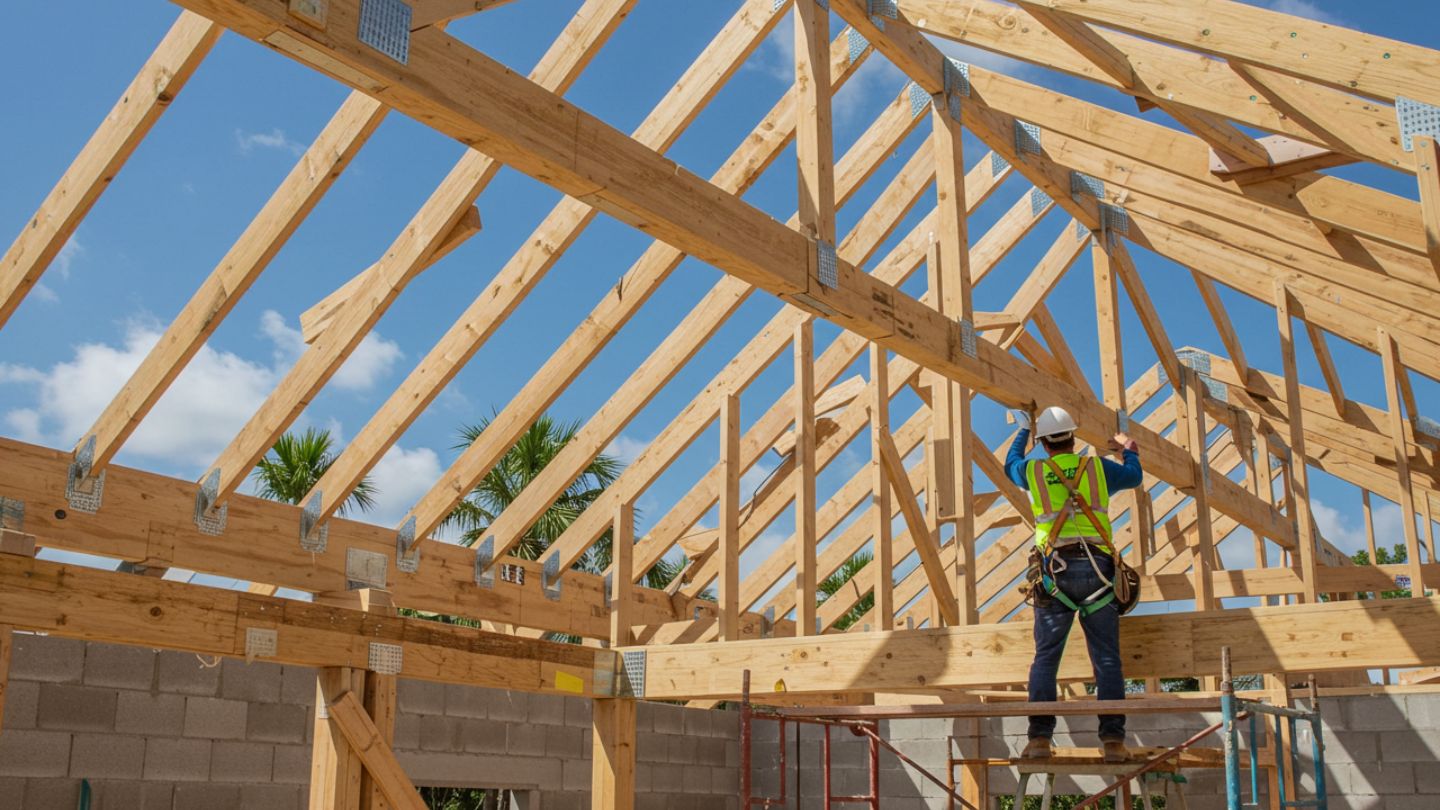
A roof truss is the structural framework that supports your roof, distributing its weight evenly across your home or building. Think of it as the skeleton of your roof—built from a series of interconnected triangles that provide strength without excessive material or weight. Trusses are engineered for stability and efficiency, making them a common choice for both residential and commercial construction.
There are different types of trusses—like king post, queen post, and fink trusses—each suited to different spans, load requirements, and architectural needs. You can explore more about the different classifications of roof trusses to understand which style might apply to your structure.
When a truss is damaged—whether due to a storm, water intrusion, or shifting loads—it compromises the entire roof support system. Left unchecked, even a minor crack or joint issue can evolve into a serious structural problem, impacting the integrity of your roof and the safety of the building beneath it.
Key takeaway: Your roof trusses aren’t just holding up shingles—they’re protecting your property’s structure. That’s why understanding how they function and when they need attention is critical to long-term stability and safety.
Common Causes of Roof Truss Damage
Roof trusses are built to last, but like any structural component, they’re not invincible. Understanding what causes trusses to fail is the first step in preventing costly repairs—or knowing when to act quickly. Here are the most common culprits behind roof truss damage, especially in areas like Florida and other high-risk zones across the U.S.
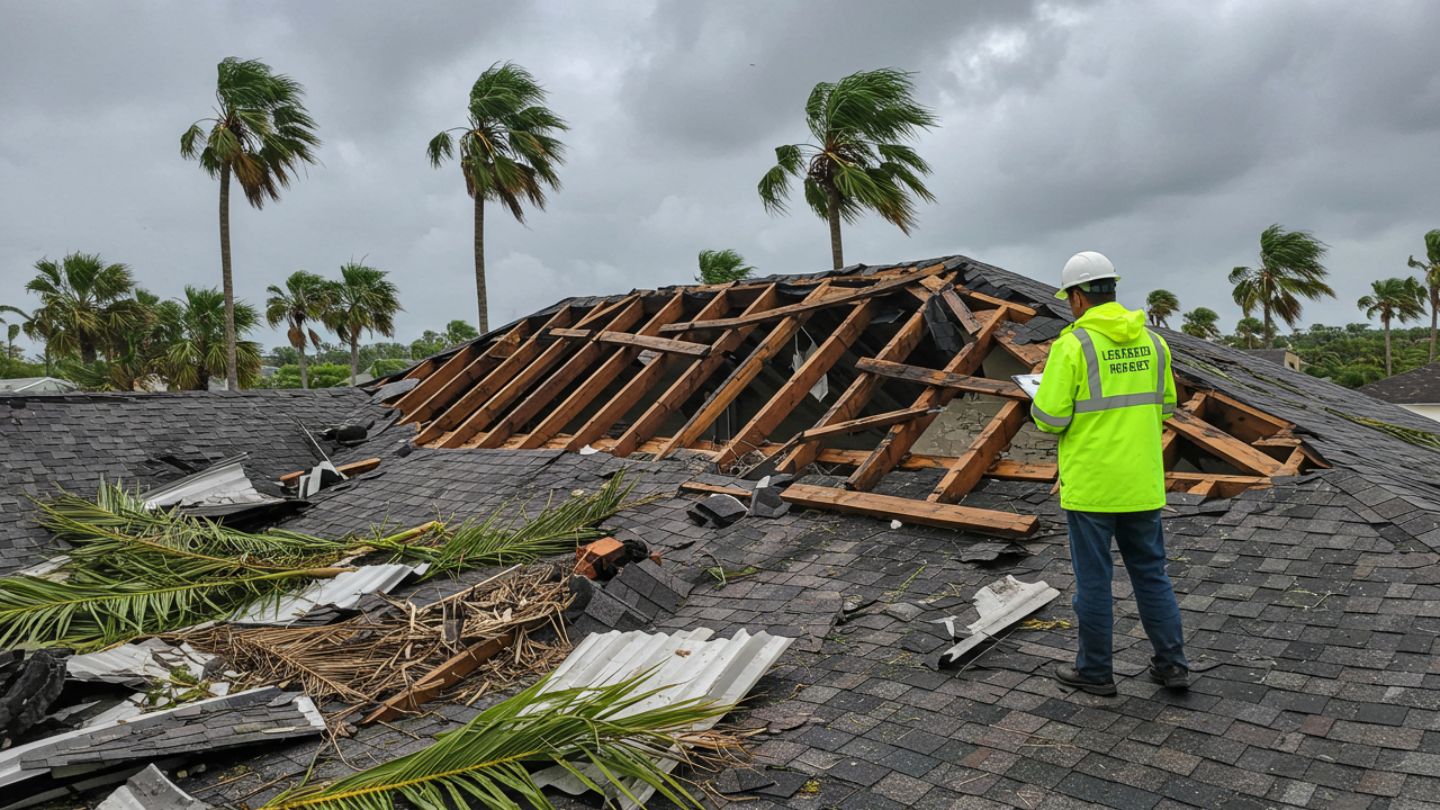
Storm and Weather Damage
Severe storms are one of the leading causes of truss failure, particularly in hurricane-prone regions. High winds can shift roof loads, create separation at connection points, and sometimes require truss uplift repair to restore structural stability. Heavy rain may expose weaknesses, and hail can cause sudden, localized impact damage. Over time, repeated exposure to extreme weather adds stress to the load-bearing structure, weakening its integrity.
Consider pairing repairs with Storm Damage Repair services to address broader storm-related issues.
Aging, Moisture, or Insect Damage
Wood trusses naturally degrade over time. Moisture intrusion—from roof leaks or high humidity—can lead to rot, mildew, or warping. Insect infestations, such as termites or carpenter ants, silently hollow out the wood, often going unnoticed until serious damage is done. In older buildings, outdated or untreated lumber may also lack the resilience of modern engineered trusses.
Overloading or Poor Construction
Sometimes the damage is man-made. Storing heavy items in attics not designed to bear weight can stress trusses beyond their capacity. Similarly, common timber roof truss joint failure causes include structural miscalculations, poor construction practices, or the use of substandard materials. Even small deviations in roof framing can trigger long-term failure, so knowing how to straighten roof trusses is critical during early repair stages.
Top 5 Warning Signs That Damage May Be Forming
- Sagging or uneven roof lines
- Cracks near ceilings or in drywall
- Creaking or shifting sounds from above
- Recent storm damage with no inspection
- Visible wood rot or signs of insect activity
Key takeaway: Truss damage often starts small but can escalate quickly if ignored. Whether caused by nature, time, or construction flaws, early detection is your best defense—and regular inspections can help catch issues before they threaten your property’s safety.
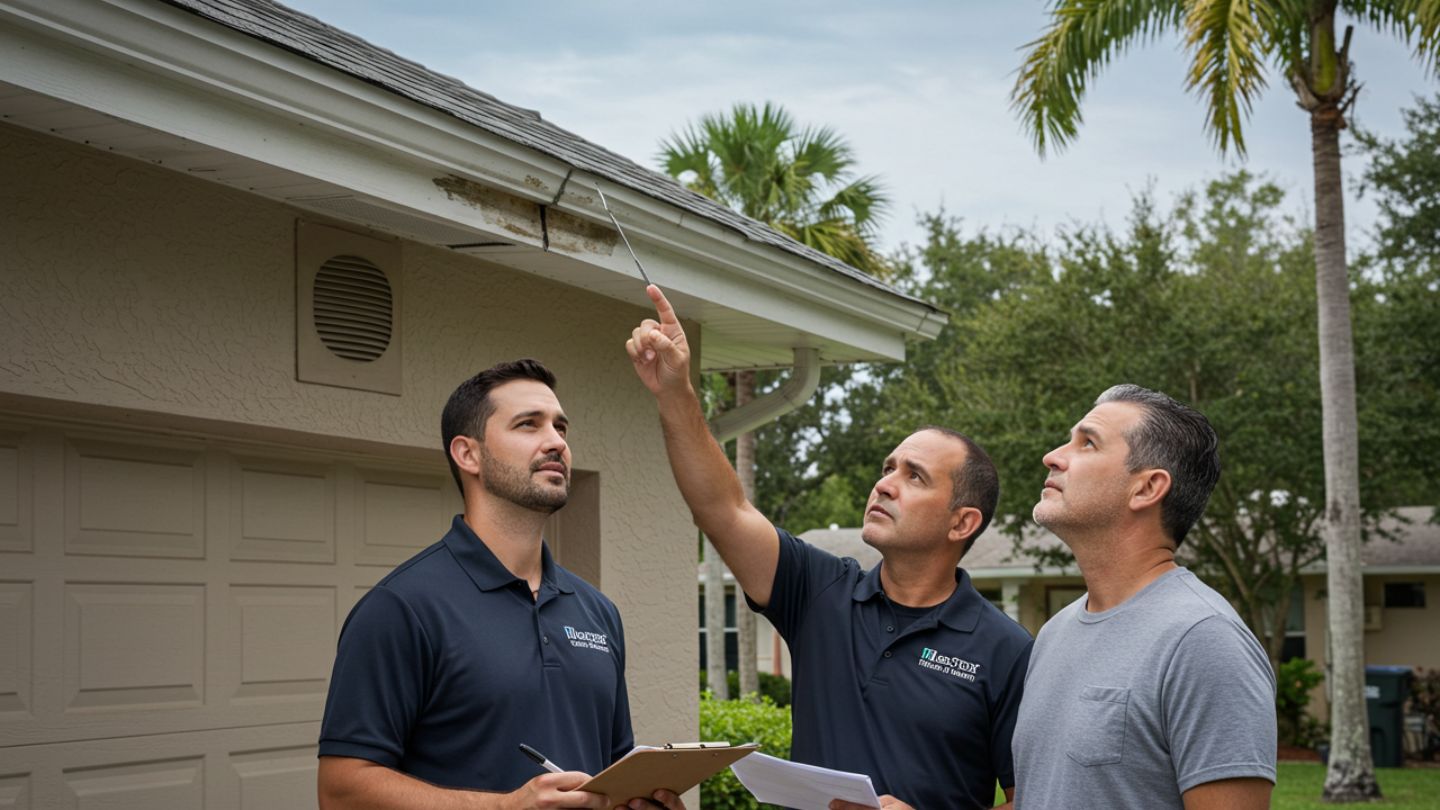
Signs You May Need Truss Repair
Not all truss damage is obvious—but the longer it’s left unaddressed, the more costly and risky it can become. Whether you’re managing a commercial property or maintaining your home, knowing what to look for can help you catch structural issues early and avoid major repairs down the line.
Use this quick checklist to identify warning signs that you may need a professional roof truss inspection or repair:
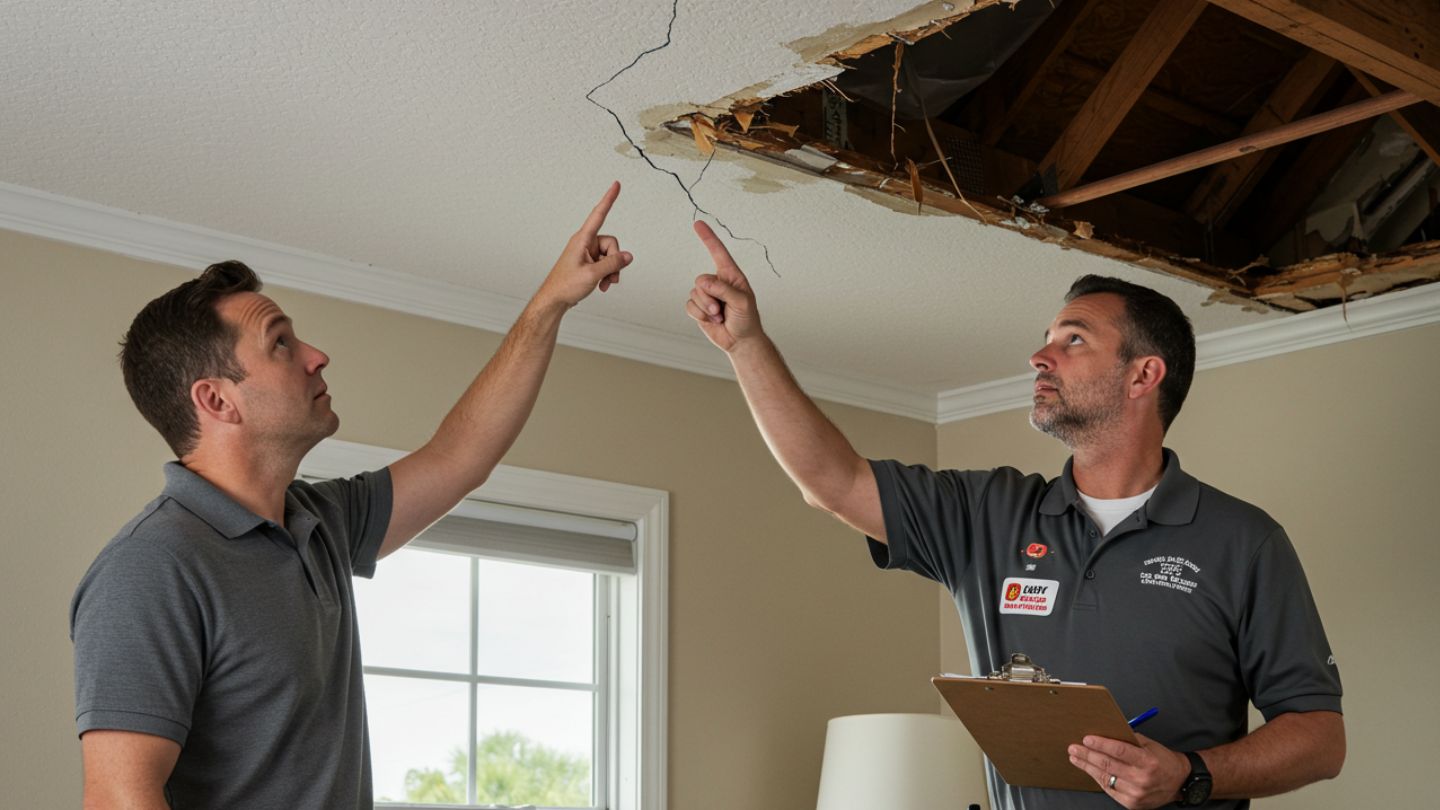
- Sagging or uneven roof trusses: Uneven ridgelines or visibly drooping roof sections often point to weakened or compromised trusses.
- Cracks near ceiling or truss joints: Interior cracks around ceiling lines or joints—especially new ones—may signal shifting or stress in the roof framing above.
- Unusual creaking sounds or movement: If you hear frequent creaking noises or notice subtle shifts in your ceiling or attic structure, it could indicate failing truss connections.
- Recent heavy storm exposure: High winds, hail, or hurricane conditions can weaken even the strongest roof systems. Trusses may be damaged even if there’s no visible roof leak.
- When to inspect vs. when to act immediately: If you’ve noticed more than one of these symptoms—or if your property was hit by a major storm—it’s best to schedule an inspection as soon as possible. Visible sagging, loud structural sounds, or wood rot should be treated as urgent and evaluated by a qualified professional immediately.
Key takeaway: Small signs can signal big structural issues. If you’ve seen any of these red flags, don’t wait—early diagnosis is the most cost-effective way to protect your building and its occupants.
Step-by-Step Overview of Truss Repair Techniques
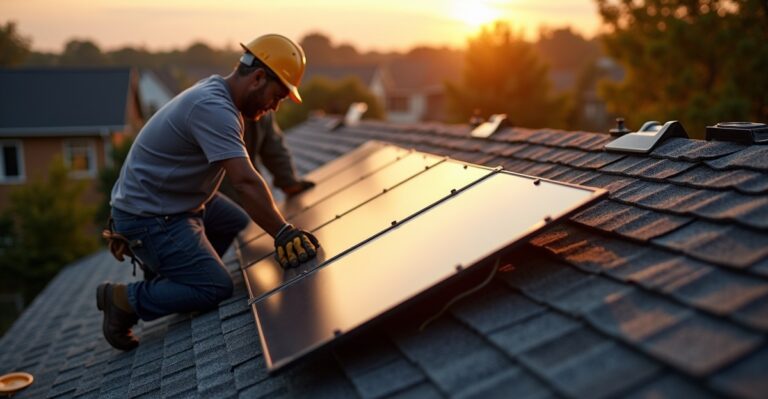
Broken roof truss repair isn’t just about fixing visible damage—it’s about restoring the structure’s strength and safety to code before moving on to tasks like roof shingle installation. Whether the issue is storm-related, age-related, or due to poor construction, knowing how to repair roof rafters and trusses follows a carefully planned professional process. Here’s what that typically looks like:
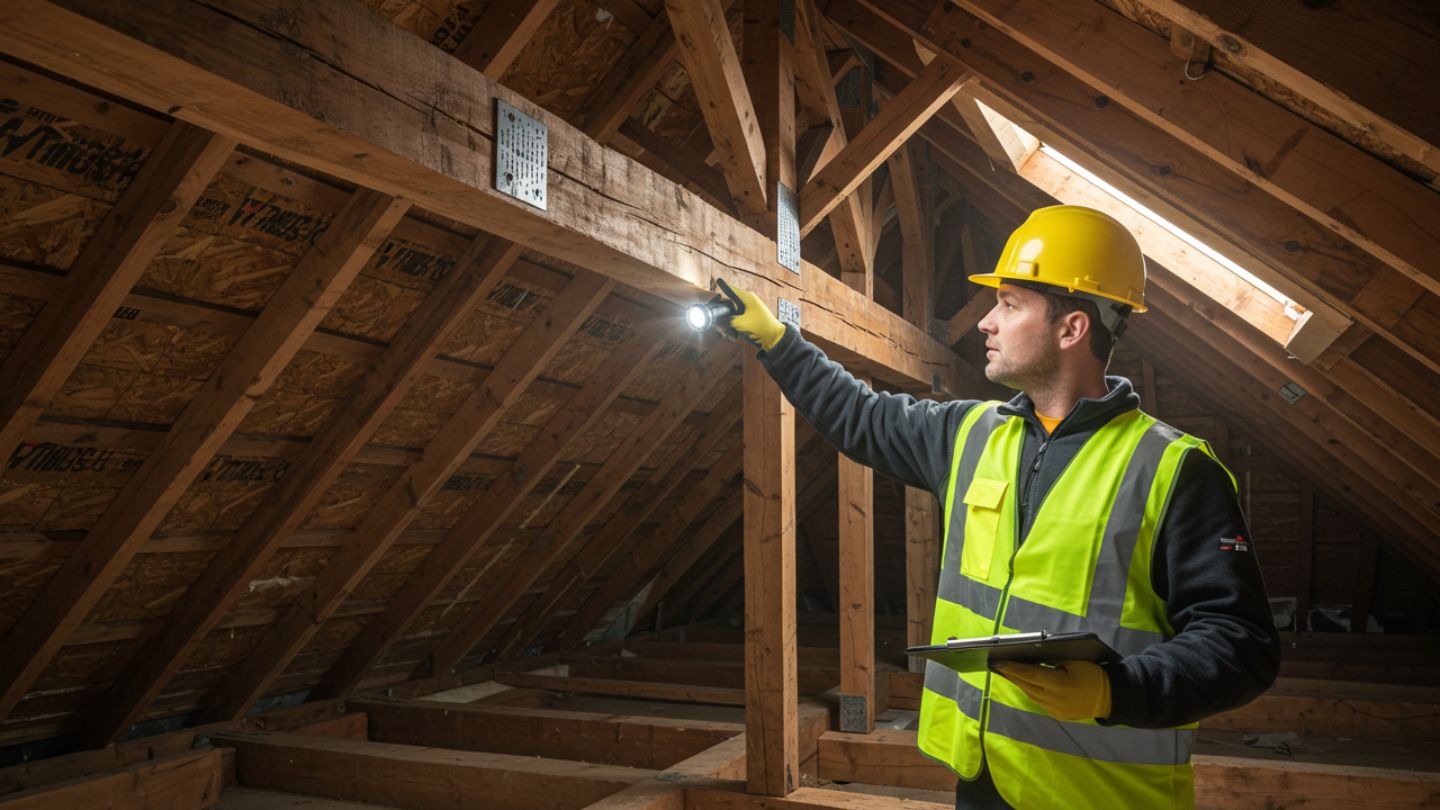
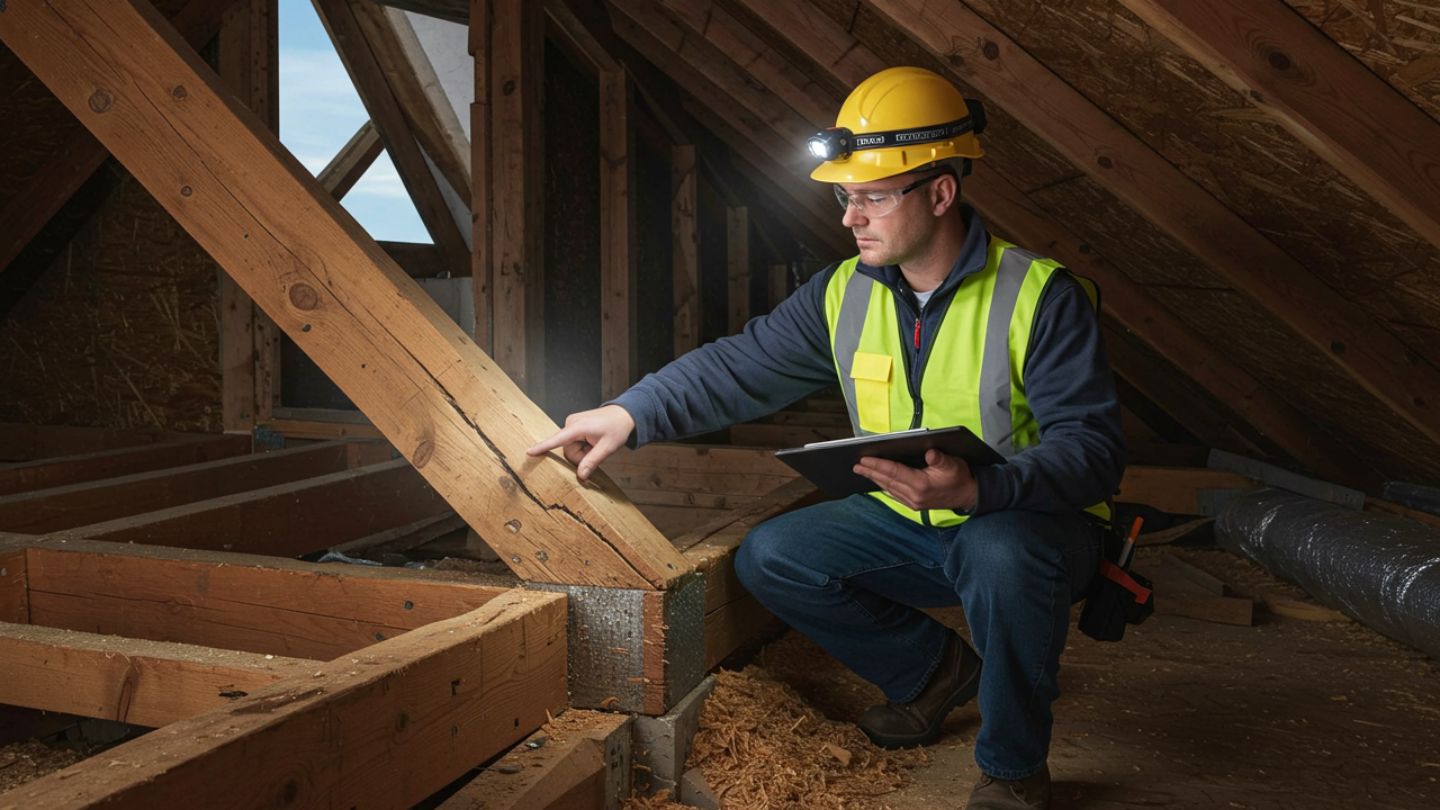
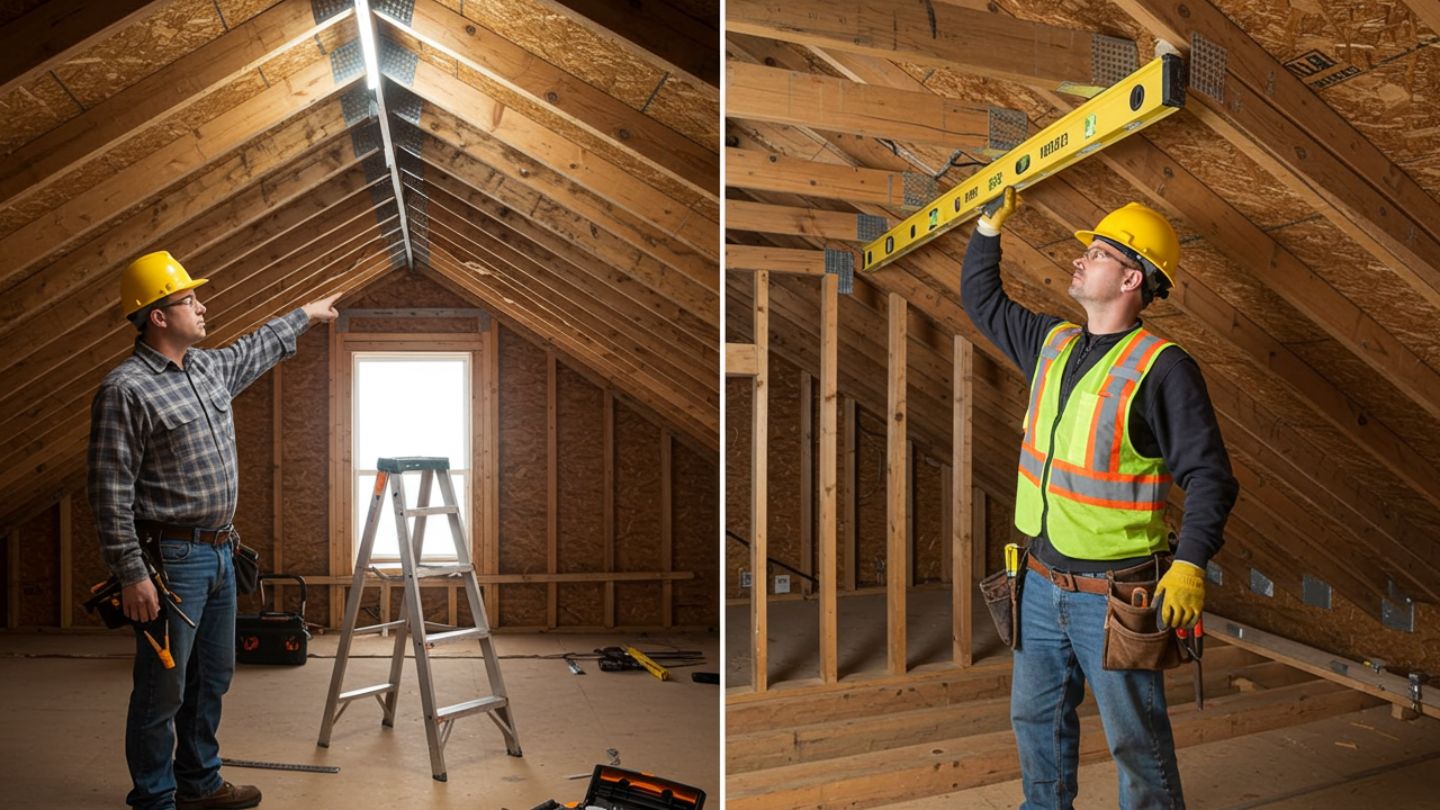
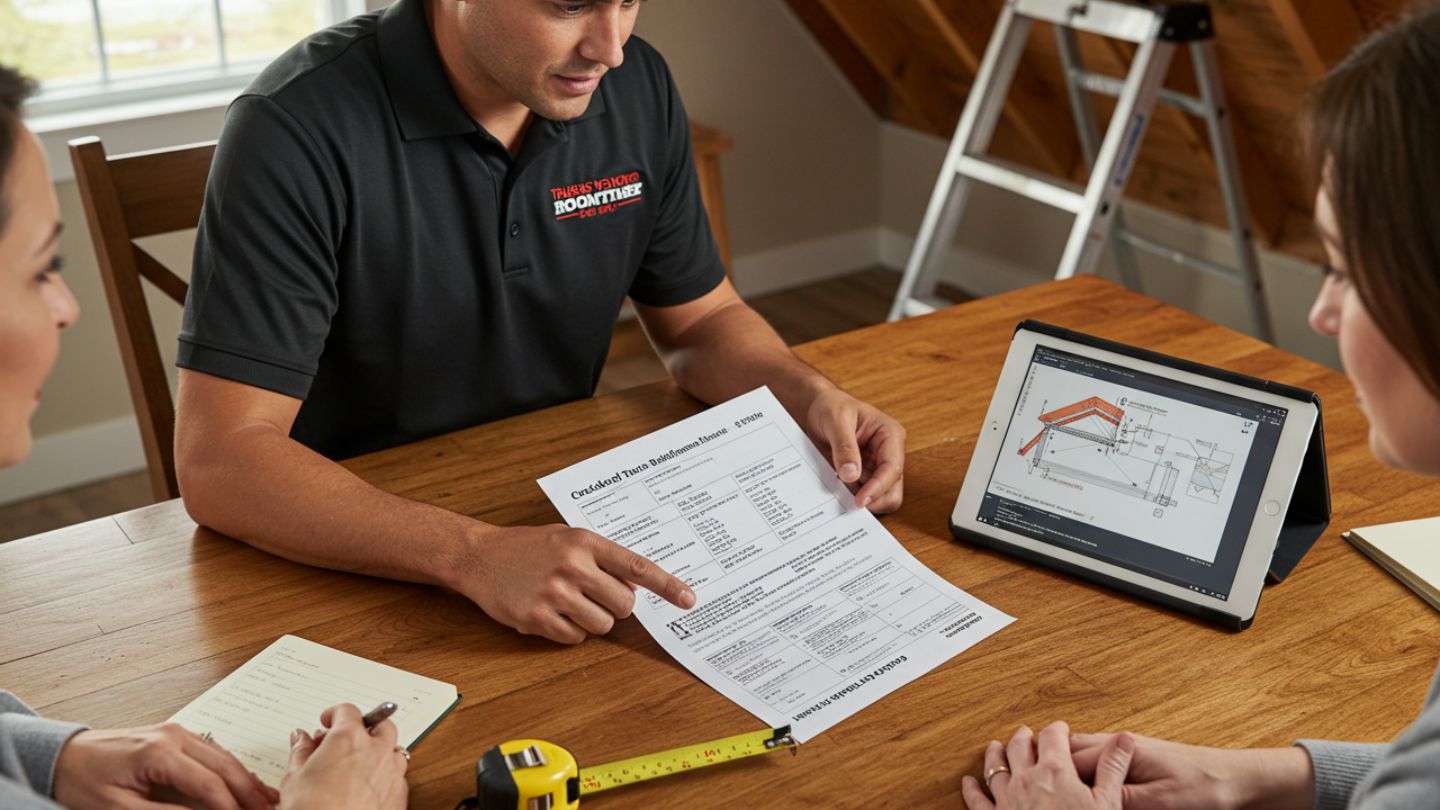
Inspection and Damage Assessment
The first step in any Roof Truss Repair is a detailed inspection. A licensed contractor will assess the type and extent of damage—whether it’s a cracked joint, water-damaged wood, or structural shifting. They’ll evaluate how the damage affects the load-bearing structure and check for signs that may not be visible from inside the property.
This process may include:
- Visual inspection of the attic or ceiling space
- Load analysis and truss layout review
- Identification of structural weak points or failed connections
Installing Temporary Structural Support
Before any work begins, it’s critical to stabilize the area to prevent further stress or collapse. Contractors use temporary support bracing—essentially scaffolding or sister framing—to hold the roof in place during the repair process.
This step ensures roof structure safety, protects the crew, and minimizes disruption inside the building.
Repair Methods: Sistering, Gusset Plate Reinforcement, and Splicing
Depending on the damage, different techniques—such as a broken truss chord repair method involving sistering or splicing—are used:
- Sistering a truss involves bolting a new piece of lumber alongside a damaged member to restore structural integrity.
- In some cases, truss scab repair—which uses wood or metal plates similar to gussets—can be applied to reinforce cracked or weakened areas. This method is common in cases of joint failure.
- Splicing: Damaged sections of wood are cut out and replaced with new, properly measured and braced pieces, often reinforced with fasteners and adhesive.
Each method must meet building code compliance standards, especially in areas like Florida where structures face high wind loads and moisture conditions.
Final Reinforcement and Code Compliance
After structural repairs are complete, the area is rechecked for alignment, balance, and load distribution. Want to know how to reinforce roof trusses? Materials like gussets and braces are tested and installed to meet strict engineering standards.
A final inspection may be required to close out permits or satisfy insurance requirements—especially for commercial buildings or Storm Damage Repair projects.
Tip: Which repair method is best for each type of damage?
- Need cracked truss repair? A truss repair bottom chord solution often involves sistering techniques that restore strength to a cracked member.
- Joint separation or hinge failure? Gusset plates offer strong reinforcement.
- Wondering how to repair rotted roof trusses? Splicing with new wood sections is often required when damage is severe.
Key takeaway: Effective truss repair is part science, part craftsmanship. The right technique depends on the damage t
DIY vs. Professional Truss Repair — What You Need to Know
If you’re wondering how to repair a broken truss yourself, be aware that even small mistakes can result in major safety and code issues. But when it comes to structural components like trusses, even a small mistake can lead to major safety risks, code violations, or costly rework. Here’s how DIY vs. professional truss repair compares—and why trusting certified pros is usually the smarter, safer choice.
DIY vs. Professional Truss Repair Comparison
| Factor | DIY Repair | Professional Repair |
| Cost | Lower upfront, but high risk of error | Higher initial investment, but long-term reliability |
| Risk | High — safety and structural failure possible | Low — handled by trained, licensed experts |
| Warranty | None | Typically includes workmanship and material coverage |
| Tools & Equipment | Requires specialized tools, jacks, supports | All tools, materials, and safety gear provided |
| Building Code Compliance | Unlikely to meet regional requirements | Fully compliant with local and state codes |
In regions like Florida, where storm damage and high winds are common, local building codes are strict—for good reason. Improper repairs can put your entire roof system at risk and potentially void insurance coverage. For a deeper look at compliance concerns, see Florida’s home insurance roof requirements.
To maintain roof system integrity, be sure to consider related elements like Roof Flashing Installation—and whether you should hire a roofer or DIY based on the complexity involved.
Key takeaway: Structural repairs aren’t the place to cut corners. When it comes to fixing a broken truss, professional expertise isn’t just a value-add—it’s a safety must.
How Much Does Roof Truss Repair Cost?
One of the most common questions property owners ask is: how much does roof truss repair cost? While there’s no one-size-fits-all answer, understanding the typical price ranges—and what influences them—can help you plan and budget more effectively.
Common Residential Repair Costs
For single-family homes, minor truss repairs (like reinforcing a cracked member or replacing a small section) typically range from $500 to $1,500. More extensive work—such as multiple damaged trusses, severe wood rot, or storm-related structural issues—can push costs to $3,000 or more, especially if temporary supports or engineered plans are required.
Factors That Affect Pricing
Several variables impact the total cost of truss repairs, including:
- Damage Severity: Minor cracks are cheaper to fix than full structural failures.
- Accessibility: Trusses buried behind HVAC ducts or deep in attic spaces take longer to reach and repair.
- Repair Method: Simple sistering is more affordable than full truss replacement or custom engineering.
- Building Type: Commercial structures may require additional permitting, labor, or specialized materials.
- Code Requirements: In Florida and other regulated areas, meeting structural and wind load codes can add to labor or inspection costs.
Cost Comparison Table
| Repair Scope | Description | Estimated Cost Range |
| Minor Repairs | Crack sealing, small sistering, minor bracing | $500 – $1,500 |
| Structural Reinforcement | Gusset plates, multiple trusses, load issues | $1,500 – $3,000+ |
| Full Replacement | Severe damage, multiple failures, redesign | $3,000 – $10,000+ |
If truss deterioration is due to persistent leaks, a Residential Roof Leak Repair may be needed in tandem.
Key takeaway: The cost of truss repair varies widely—but catching problems early and working with a licensed contractor can help minimize expenses and avoid future structural headaches.
Why Choose RayPro for Your Truss Repair
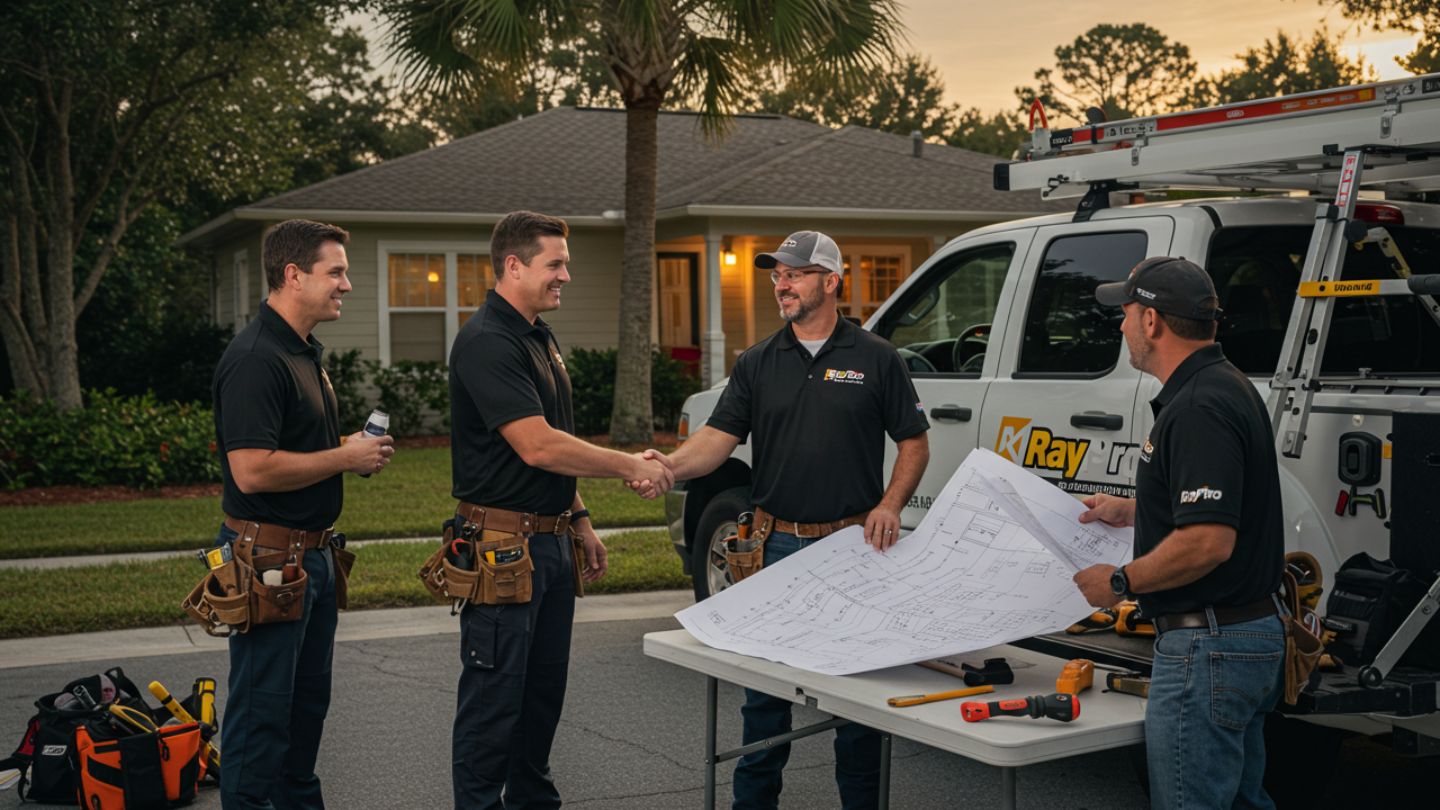
When it comes to something as critical as your roof’s structural integrity, choosing the right contractor matters. At RayPro Roofing & General Contracting, we don’t just fix trusses—we help protect your property, your people, and your investment with reliable service grounded in experience and trust.
With over 17 years of experience serving clients across 17 states, RayPro has earned a reputation for consistent, high-quality work on both residential and commercial projects. Our team is fully licensed, insured, and trained to meet local and state building codes, including strict requirements in high-risk regions like Florida.
What sets us apart?
- Certified Expertise Across States
From hurricane-prone coastal homes to industrial warehouses, we know how to evaluate, reinforce, and restore a wide range of truss systems. - Full-Service Project Management
We handle everything—from inspection and permitting to cleanup and final walkthrough—so you don’t have to coordinate multiple vendors. - Flexible Financing Options
We offer solutions that make it easier to address structural issues without delay. Financing plans are available for projects up to $250,000. - Backed by Real Results
RayPro found the problem, explained it clearly, and had it fixed faster than we expected. No surprises, no stress.
Key takeaway: Truss repair isn’t just about fixing wood and metal—it’s about restoring safety, stability, and peace of mind. RayPro brings experience, professionalism, and a commitment to quality you can count on.
Conclusion: Get Ahead of Truss Damage Before It Gets Worse
Roof trusses play a critical role in keeping your property safe, stable, and structurally sound. When they’re damaged—whether from storms, moisture, or age—the risk isn’t just cosmetic. Left unchecked, small issues can turn into major structural problems, leading to higher repair costs and potential safety hazards.
The good news? Early detection and expert repair can make all the difference. Knowing the signs of truss damage and understanding your options empowers you to act quickly and protect your investment.
At RayPro, we’ve spent over 17 years helping homeowners and commercial property managers get ahead of costly damage with professional, code-compliant, and trustworthy repairs. Whether you’re dealing with visible damage or just want peace of mind, we’re here to help.
Schedule a free inspection or get an expert opinion today—and take the first step toward a safer, stronger roof.
Frequently Asked Questions (FAQs)
Look for warning signs such as sagging roof lines, cracks in the ceiling near truss joints, creaking or shifting sounds from the attic, and visible water damage or wood rot. If your property was recently hit by a storm or you’re unsure, it’s best to schedule a professional inspection.
Yes. In many cases, truss repair techniques like sistering, splicing, or gusset plate reinforcement can restore structural integrity without removing the entire roof. The extent of the damage will determine the best approach.
The most common techniques include:
Sistering: Reinforcing a damaged truss with a new piece of lumber
Gusset Plate Repair: Re-securing joints with metal or plywood plates
Splicing: Removing and replacing damaged wood sections
A structural assessment will help determine the best method for your specific situation.
It depends on the cause. Truss damage from sudden events like storms or fallen trees is often covered under homeowners or commercial property insurance. However, damage from neglect, aging, or insect infestation may not be included. Always check with your provider and document damage as soon as it’s discovered.
Simple repairs may take a few hours to a day. More complex issues involving multiple trusses, temporary support systems, or engineering approval can extend the timeline to several days. A professional contractor like RayPro can give you a realistic timeline based on your specific project.