What’s Included in a Roof Inspection Report
A solid roof condition report does more than outline visible issues. It explains the roof’s condition, flags risks, and recommends clear actions. With section-by-section evaluations, repair advice, cost estimates, and visual evidence, these reports help us act fast and wisely.
Key Takeaways
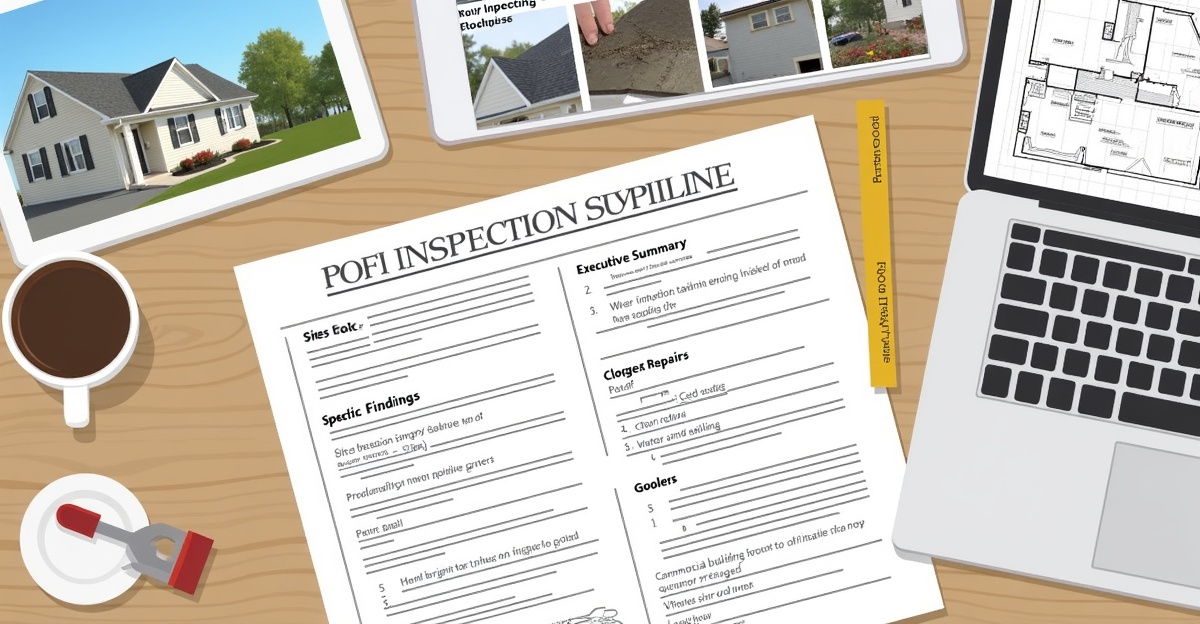
- Each report features an executive summary, site-specific findings, and actionable repair advice.
- It records signs of exterior damage, structural concerns, drainage inefficiencies, and interior water intrusion.
- Photos and diagrams simplify how we assess each problem and pinpoint its location.
- Residential reports tend to focus on immediate repair needs, while commercial reports include added detail like building codes and equipment layouts.
- Well-prepared reports rank issues by urgency and offer detailed proof that supports insurance claims or property transactions.
What You’ll Learn From a Roof Inspection Report
Right at the top, every solid roof inspection report starts with an executive summary. This gives you a quick look at what’s working, what’s not, and what needs immediate attention. It’s written in plain English, so you don’t have to decode roofing terms to know where things stand.
You’ll see the findings broken down by area or system—like the north slope, rear entry, or specific components like flashing, membrane seams, or vents. This helps pinpoint not just what’s wrong, but exactly where it is.
Photos and diagrams highlight problem spots. Depending on the inspection scope, you might also see thermal imaging, especially in a commercial roof inspection report.
Expect clear recommendations too. For each issue, inspectors will often note what type of repair is needed, whether it’s urgent, and a general cost range. These cost bands aren’t bids, but they give you a solid starting point.
This approach works for all properties. Whether it’s a residential roofing check before listing your home, a metal roof inspection report for a property with standing seam panels, or a commercial roof inspection for lease negotiations, the end goal is the same: clarity, documentation, and action steps.
Breaking It Down: What Each Section of the Report Covers
Core areas covered usually include:
- Exterior conditions: Are shingles missing? Is the membrane worn or cracked? Are flashings loose or sealants failing? These get documented with location and comments.
- Structural elements: Inspectors check for sagging, signs of rot or weakened decking, and evaluate ventilation design for proper airflow.
- Drainage system: Poor drainage leads to big problems, as outlined in NRCA guidance on ponding water and flat roof drainage risks. The report notes clogs, improper pitch, corrosion, or evidence of pooling near scuppers or downspouts.
- Interior signs of damage: Moist spots on insulation, ceiling stains, or attic mold? Expect photos and notes with those findings.
- Penetration points: Vents, chimneys, HVAC curbs, and skylights get checked closely. Improper flashing or sealing here causes leaks more often than not.
- Commercial-specific items: These often include equipment mounts, code compliance issues, and things like rooftop unit stability.
You may see technical notes like: “Membrane seams separating at west parapet – estimated deterioration due to UV and age; recommend patch and monitor quarterly.” That’s a solid example of how detailed these reports get.
For more guidance on spotting issues early, take a look at this guide to finding hidden roof damage.
Major Differences Between Residential and Commercial Roof Inspections
Residential and commercial roof inspections share a common goal—evaluating the roof’s condition—but they do diverge in key ways.
Commercial inspections, especially for flat or low-slope roofs, often involve moisture scans, core sampling, and mechanical system checks. Drainage, weight loads, and warranty life span tie directly into property budgets and compliance.
A shingle roof inspection report leans more on visual assessment. We focus on shingles, underlayment, flashing at intrusion points, attic health, and damage from storms or age.
Another big difference: documentation. A flat roof retail property might get CAD-style diagrams showing equipment placement and water flow. Meanwhile, a homeowner might want clear photos of missing shingles or ridge vent gaps for insurance.
If you’re preparing for a residential claim or sale, this list of roof maintenance tips can also help protect your checklist and timeline.
How to Read and Apply the Findings
Most reports prioritize findings based on urgency. That means you’ll see labels like “immediate,” “within 12 months,” or “monitor going forward.” Use that timeline to build the right repair plan.
Cost estimates, if included, help ballpark what a fix might run, but they’re not quotes. When comparing reports and estimates, match the repair description—same damage, same material, same solution.
Photos help clarify your roof evaluation report. Cross-check each with its location and comment to better visualize where the issue sits.
Keep your roof inspection report for insurance handy. It’s useful for everything from insurance claims to home sale disclosures or warranty disputes. It’s also a smart way to validate a roof inspection checklist or compare contractor estimates down the line.
What a Quality Inspection Report Should (and Shouldn’t) Include
You want your report to work hard for you. A quality one includes:
- Organized sections by system or area
- High-res photos for every issue flagged
- Both today’s problems and future risks
- Notes on weather impact like ice or UV wear
On the flip side, watch for vague comments like “general wear” with no photo, or reports missing attic, drainage, or structural notes.
Before hiring, ask your inspector questions such as:
- Is this issue urgent or something to monitor?
- Can you show me on the roof or in a photo?
- Does this affect my warranty or code compliance?
When reading your report, review it alongside the tips in this leak prevention guide for extra clarity.
When and Why to Get One (and What It’s Worth)
For homeowners, schedule an inspection:
- During home sale prep or purchase
- After storms or water issues
- Every 1–2 years for upkeep, consistent with preventive home maintenance guidance from HUD and other housing authorities
For commercial building owners:
- Annually to plan maintenance budgets
- After heavy weather or before major upgrades
- When documenting conditions for warranty claims
Inspections don’t cost much—usually between $250 and $500, according to recent nationwide roof inspection cost reports—but they can save you thousands by preventing damage or catching small issues before they grow.
If you haven’t had yours done recently, here’s how often you should inspect your roof to stay ahead.
What Sets RayPro’s Reports Apart
We don’t cut corners on inspections, and we don’t fill reports with fluff. Whether we’re scanning a multi-family flat roof or a single-family home, we document exactly what we see—curb integrity, flashing gaps, seam lifts, and drainage problems.
We keep our reporting clear and structured—not riddled with “maybes” or generalizations. Every issue gets a plain description, a location marker, and, when needed, a specific call to action.
Need repairs? We lay out options, not sales pitches. You can move forward on your terms.
If you’re unsure whether your roof may need work soon, this article on signs you might need a new roof is a smart next read—or reach out for a roof repair assessment today.
It all starts with the right inspection. And the right team. We’re here when you need us.
Frequently Asked Questions
A roof inspection report includes an executive summary, detailed findings by roof area or system, photos of visible issues, and repair recommendations. It documents exterior damage, structural concerns, drainage performance, and interior signs of leaks. Most reports also rank issues by urgency and may include general cost ranges to help prioritize repairs and maintenance decisions.
Roof inspection reports identify damage through visual checks, photos, and sometimes moisture scans or thermal imaging. Inspectors document cracked materials, loose flashing, worn membranes, drainage problems, and interior water intrusion. Each issue is recorded with its exact location and explanation, helping property owners understand both the cause of damage and the potential risk if it’s left unaddressed.
Yes, roof inspection report details vary by property type. Residential reports focus on shingles, flashing, attic conditions, and storm damage. Commercial reports are more technical and often include drainage analysis, membrane seams, rooftop equipment, code considerations, and moisture testing. Commercial reports also tend to include diagrams or layouts showing equipment placement and water flow patterns.
Many roof inspection reports include general repair cost ranges, but not exact quotes. These estimates help owners understand the potential financial impact and prioritize urgent issues. Costs are usually grouped by repair type and severity, offering guidance for budgeting and comparing contractor proposals without replacing a formal repair estimate.
You should use roof inspection report findings to plan repairs based on urgency and risk. Immediate issues should be addressed first to prevent leaks or structural damage, while lower-priority items can be scheduled for future maintenance. Reports are also valuable for insurance claims, property sales, warranty discussions, and comparing repair recommendations from multiple roofing contractors.