How to Plan a Driveway or Paving Project
Strong paving project planning begins with a clear scope, defined investment range, verified site conditions, and clear long-term performance targets before we select any materials. We plan a driveway or paving project correctly by assessing drainage, base preparation, material lifecycle expenses, permits, compliance standards, timelines, and contractor credentials to prevent expensive setbacks.
Key Takeaways
- We define whether the project involves a repair, full replacement, or expansion, and we set a realistic investment range based on lifecycle value—not just the installation cost.
- We assess soil stability, grading, drainage, and base thickness first, because sub-base preparation determines long-term pavement performance.
- We compare asphalt, concrete, and pavers based on traffic load, climate exposure, maintenance expectations, and curing time.
- We confirm permits, ADA standards, HOA guidelines, and local compliance requirements before work begins to reduce liability and delays.
- We vet contractors carefully by reviewing site evaluation methods, base specifications, warranty terms, and project disruption plans.
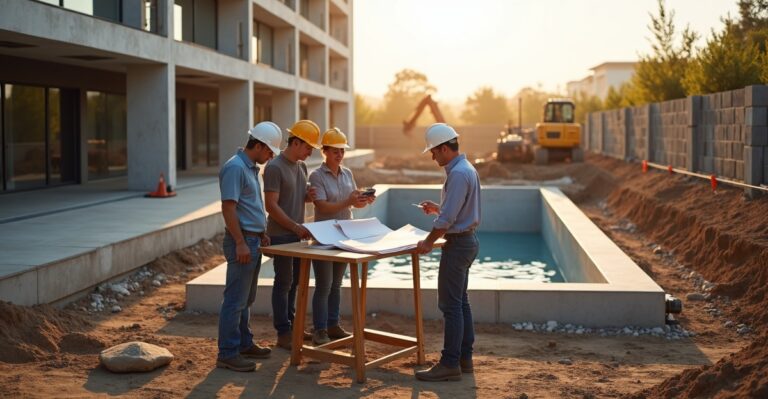
Start with a Clear Plan: Define Scope, Goals, and Investment Range
Strong paving project planning begins with a clear definition of scope. We need to decide upfront whether the work involves a simple repair, a full replacement, or an expansion of existing pavement.
Residential projects often focus on curb appeal, safe access for family members, and preventing water from pooling near the foundation. A cracked driveway might look cosmetic, but unmanaged water can seep toward the garage slab and create structural trouble. Clear expectations around driveway replacement cost help prevent budget surprises later.
Commercial projects operate differently. We look at ROI, liability reduction, efficient traffic flow, and long-term lifecycle planning—especially across multi-site portfolios. A well-planned parking lot lowers trip hazards, protects brand image, and reduces emergency repair costs.
Several paving project cost factors shape the final price:
- Total size and square footage
- Demolition and removal of old pavement
- Grading and site preparation for paving
- Drainage corrections
- Material choice (asphalt, concrete, or pavers)
- Accessibility and staging constraints
- Regional labor and material pricing
Too many estimates focus on surface material alone. That’s a red flag. If base preparation and drainage aren’t clearly addressed, the number may look good now but cause problems later.
We also encourage clients to compare lifecycle cost—not just the initial installation price. Asphalt may cost less upfront but requires ongoing sealcoating and maintenance. Concrete usually involves a higher initial investment but can last longer with fewer routine treatments. The right choice depends on how long we plan to hold the property and how we expect it to perform.
A defined investment range keeps discussions focused and realistic. For homeowners, reviewing resources like budgeting for a home remodel helps frame the conversation. For commercial clients, we often forecast maintenance costs over 10–20 years to understand total ownership expense, not just day-one pricing.
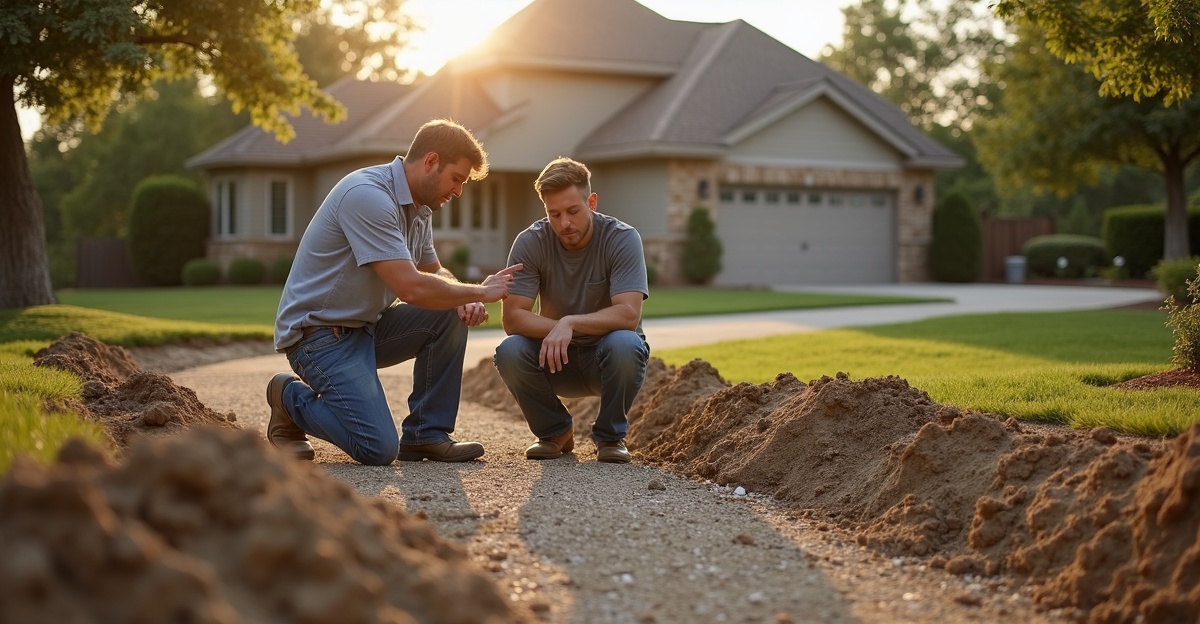
Assess the Site First: Soil, Drainage, and Structural Base
Paving is structural. It protects assets and manages water. It isn’t just about appearance.
Before we price or specify materials, we evaluate soil stability and compaction requirements. Soft or expansive soils demand additional base work. Without it, surface layers will crack or settle prematurely.
Grading matters just as much. Proper slope directs water away from buildings and pedestrian areas. Poor drainage remains one of the most common causes of early pavement failure. Water that sits under asphalt or concrete weakens the sub-base and leads to cracking, potholes, or heaving.
Sub-base thickness and material specifications should match expected loads. Long-term durability is largely determined by what’s underneath the surface. Industry best practice recognizes that base prep often accounts for 70–80% of pavement performance over time.
Residential properties need careful grading to protect the garage slab and foundation. Water should move away from the home in a controlled pattern. That small slope detail can make the difference between a dry basement and long-term moisture issues.
Commercial properties involve higher loads and tighter compliance standards. Improper slope can create drainage failure, standing water, and ADA compliance issues. ADA paving requirements affect cross slopes, access aisles, ramps, and striping dimensions. Errors increase liability risk and may require costly rework.
For both homeowners and facility managers, early planning saves time. Preparing properly often starts with understanding how construction affects access and daily routines. Reviewing how to prepare your property for construction can help set realistic expectations before equipment arrives.
Choose the Right Material for Long-Term Performance
Material selection drives performance, maintenance needs, and disruption length. Each option has clear trade-offs.
Asphalt typically offers a lower upfront cost. It installs quickly and performs well in freeze-thaw climates because it flexes slightly with temperature changes. It does require periodic sealcoating and ongoing maintenance to extend service life.
Concrete demands a higher initial investment. It can last longer with fewer routine maintenance treatments. Repairs, however, may cost more and are visually harder to blend if damage occurs.
Pavers provide aesthetic flexibility and high-end curb appeal. They cost more than standard asphalt in most cases but allow sectional repairs without tearing out large areas.
Lifecycle cost matters more than installation price alone. Asphalt’s lower initial figure may balance out over time when maintenance is included. Concrete can offer stability over decades if properly installed with a strong base. The right answer depends on traffic volume, climate, and maintenance preferences.
Commercial properties introduce additional factors. Heavy truck traffic, loading docks, fuel exposure, and high-turn vehicle movement influence material choice. Certain heat conditions can soften asphalt if the base isn’t built correctly. Concrete may handle specific load demands differently. We evaluate these conditions carefully before recommending a system through our paving services team.
Residential projects lean more heavily on climate, budget, and aesthetic preference. Homeowners who prefer minimal long-term upkeep may lean toward concrete. Others appreciate asphalt’s clean look and faster turnaround.
Timeline also shifts based on material. Asphalt can often be driven on within a few days, though it continues curing beneath the surface. Concrete requires a longer curing period before full vehicle loads. That affects access planning and daily convenience.
Understand Permits, Compliance, and Risk Management Before Work Begins
Permitting delays stall projects quickly. Every municipality has its own requirements. Some driveway replacements require curb-cut permits. Commercial projects may trigger stormwater permitting and management requirements or accessibility inspection.
Clear understanding of construction permits prevents unnecessary downtime. Approval timelines can extend a project by weeks if paperwork is incomplete or submitted late.
Commercial paving adds another layer of responsibility. ADA paving requirements cover slopes, accessible parking spaces, signage, and striping. Non-compliance exposes property owners to fines and legal claims. Proper traffic flow planning and marked pedestrian paths reduce liability risk and improve user experience.
We often phase commercial work to reduce business disruption. Off-hours scheduling and controlled work zones keep tenants operating while improvements move forward.
Residential homeowners should also check HOA guidelines and local building rules. Even small driveway expansions may require review.
Clear communication is critical. Defined staging areas and daily updates reduce confusion and protect families, customers, and employees while equipment moves on and off site.
Set Realistic Timelines and Plan for Disruption
Residential driveway projects typically take a few days to about a week, depending on scope, weather, and curing time. Removal, grading, base installation, paving, and curing all require coordination.
Commercial parking lots may require several days to multiple weeks depending on size and access constraints. Phased scheduling keeps portions of the lot operational while other sections are under construction.
Several factors can extend paving project timelines:
- Weather, especially rain and extreme temperatures
- Permit approval delays
- Discovery of unstable sub-base after demolition
Curing time varies by material. Asphalt can often handle light vehicle traffic within a couple of days but continues hardening afterward. Concrete takes longer before full vehicle loads are recommended.
Disruption can be managed with planning. Phased work zones, temporary access routes, and clear communication reduce downtime. In commercial settings, this planning protects revenue and keeps tenants informed. For families, it protects daily routines and safe access.
For property managers focused on long-term performance, understanding post-installation care is just as important. Proactive steps like those outlined in commercial parking lot maintenance guidance protect the investment once construction wraps up.
Vet Contractors Carefully and Use a Planning Checklist
Contractor selection has a direct impact on performance and cost control. Property owners should carefully review guidance on choosing the right general contractor before signing an agreement.
During interviews, key questions should include:
- How will soil and drainage be evaluated?
- What base thickness is recommended, and why?
- Who is responsible for permits and compliance?
- How are ADA paving requirements addressed?
- What does the warranty cover?
- How will disruption be minimized?
Red flags appear quickly. Quotes provided without a site visit suggest assumptions are being made. Vague scope of work creates room for change orders. Lack of clarity on base preparation usually points to shortcuts.
A simple planning checklist keeps paving projects on track:
- Define goals and budget range.
- Assess site conditions and drainage.
- Compare materials by lifecycle cost.
- Confirm permits and compliance requirements.
- Review timeline and disruption plan.
- Vet the contractor thoroughly.
Strong planning builds confidence. Before final budgeting, schedule an on-site assessment to validate soil conditions, drainage assumptions, and base requirements. A focused consultation ensures the numbers align with real site conditions and long-term performance expectations.
Frequently Asked Questions
Paving project planning includes defining the scope of work, setting a realistic budget range, evaluating soil and drainage conditions, selecting appropriate materials, confirming permits, and establishing a timeline. It also involves reviewing contractor qualifications and base preparation standards. Proper planning ensures long-term pavement performance and reduces the risk of premature cracking, drainage failure, or unexpected costs.
To estimate paving project cost accurately, you must consider more than surface material. Total square footage, demolition, grading, drainage improvements, base thickness, material choice, and local labor rates all affect pricing. A reliable estimate also evaluates lifecycle cost, including future maintenance, so you understand long-term ownership expense rather than just upfront installation cost.
Base preparation determines the structural strength of the pavement. The sub-base supports traffic loads and manages moisture beneath the surface. If soil is unstable or improperly compacted, cracking and settlement will occur regardless of surface material. Proper grading and adequate base thickness significantly extend pavement lifespan and help prevent costly structural repairs.
Most residential driveway paving projects take a few days to a week, depending on removal, grading, and curing time. Commercial parking lot projects can take several days to multiple weeks, especially when phased scheduling is required. Weather conditions, permit approvals, and material curing times all influence the overall timeline.
Many paving projects require permits, particularly if they involve curb cuts, drainage modifications, or changes to parking layouts. Commercial properties must also comply with accessibility regulations and local building codes. Checking municipal requirements and HOA guidelines before starting prevents delays, fines, and costly rework later in the project.