Top Roof Shingle Installation Mistakes to Avoid

When it comes to roofing, even small installation errors can turn into big, expensive problems. From improper shingle alignment to underestimating the importance of ventilation, common roofing mistakes can shorten the lifespan of your roof and leave your home vulnerable to leaks, mold, and costly repairs.
In this guide, you’ll learn how to spot—and prevent—the most frequent shingle installation issues made by both DIYers and contractors, including what can go wrong during a roof replacement.
Whether you’re planning a new roof or assessing recent work, this article will help you protect your investment with practical, expert-backed advice.
Here’s what we’ll cover:
- Why Roofing Mistakes Matter More Than You Think
- Common Installation Errors That Can Void Your Roof’s Lifespan
- Material Selection and Underlayment Errors
- Maintenance Mistakes That Compromise New Roofs
- Design & Planning Oversights That Set Projects Up to Fail
- Contractor & DIY Red Flags to Watch Out For
- Long-Term Consequences of Installation Mistakes
- How to Prevent These Mistakes (and What to Do If You Suspect Them)
Let’s start by looking at why roofing mistakes—no matter how minor they seem—can have major consequences.

Why Roofing Mistakes Matter More Than You Think
When it comes to roofing, the smallest installation mistake can have ripple effects that compromise the entire system. A single misaligned shingle or misplaced nail might seem insignificant in the moment, but over time, these errors can lead to water infiltration, mold growth, structural decay, and even complete roof failure.
For homeowners and property managers alike, these are not just cosmetic issues—they’re risks to your property’s safety, value, and long-term integrity.
According to the National Roofing Contractors Association (NRCA), more than 90% of premature roof failures stem from improper installation—not product defects. This means that the success or failure of your roofing investment depends heavily on getting the details right during installation, whether you’re doing it yourself or hiring a contractor.
In Florida and other storm-prone states, these risks are magnified due to how weather impacts roof lifespan. High humidity, intense UV exposure, heavy rainfall, and hurricane-force winds all put extra stress on roofing systems. A poorly installed drip edge or incorrect roof flashing installation might allow water to creep in during heavy downpours, while inadequate roof ventilation can trap hot, moist air in the attic—leading to warped shingles, higher energy bills, and even mold infestation.
In extreme cases, structural rot can spread to the decking or rafters, triggering costly, large-scale repairs.
Here are a few real-world impacts of mistakes roofers make during installation:
- Improper ventilation → Trapped heat and moisture, leading to mold and shingle blistering
- Poor flashing or underlayment → Water intrusion around chimneys, skylights, or valleys
- Incorrect nail placement → Shingles blowing off during high winds or curling prematurely
- Skipping essential components (like the ice & water shield) → Ice dam formation and interior leaks in colder regions
Whether you’re overseeing a new roof installation or assessing recent work, understanding typical roofing problems and signs your roof needs replacement helps you spot red flags early and demand better standards. A quality roofing job should not only look good but perform reliably for decades.
Takeaway: Roofing mistakes that cost homeowners money today can lead to major structural, financial, and health-related problems tomorrow—especially in challenging climates like Florida’s. Being aware of what to avoid is your first step toward a durable, high-performing roof.
Common Installation Errors That Can Void Your Roof’s Lifespan
Improper installation is one of the leading causes of premature roof failure, often stemming from frequent roofing contractor errors—regardless of how high-quality the materials may be.
Whether the work is done by a DIY enthusiast or an underqualified contractor, cutting corners or skipping essential steps are among the Common Mistakes in DIY Roof Repairs that can dramatically reduce your roof’s performance and lifespan. Let’s explore the most common roof installation mistakes and how they impact your home.

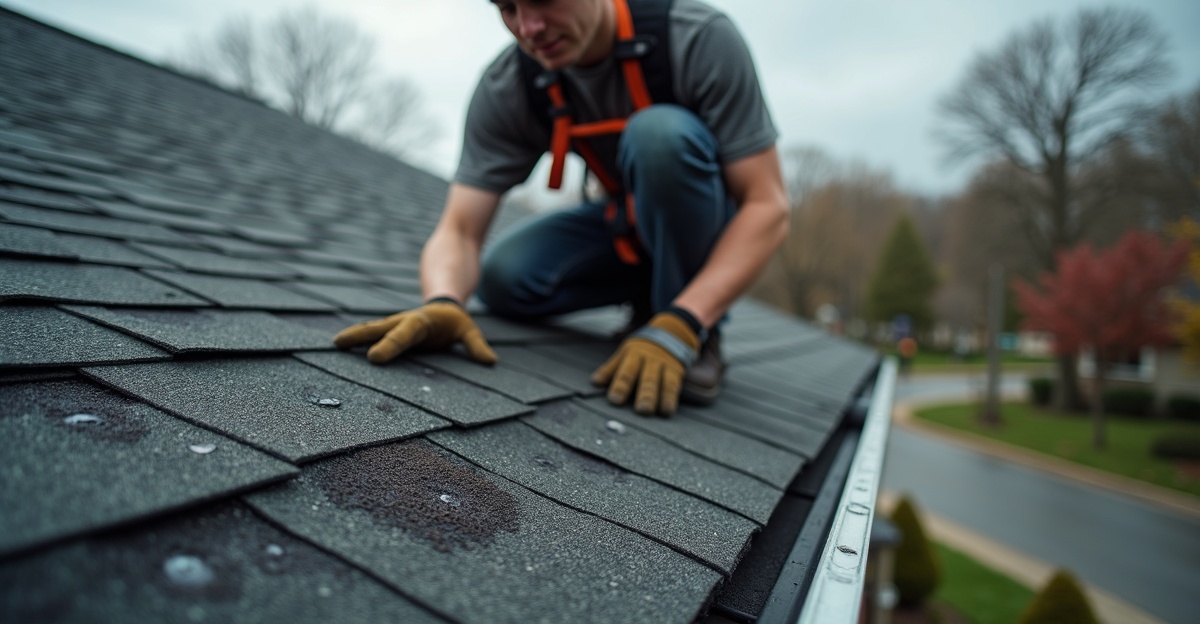
Improper Shingle Alignment
Shingles are designed to work as a uniform, overlapping system that sheds water efficiently, but improper shingle installation disrupts this and leads to water infiltration. When shingles are not properly aligned—either due to uneven spacing, crooked rows, or failure to maintain the correct staggered pattern—it can lead to:
- Disrupted water flow, increasing the risk of pooling or seepage
- Uneven wear and premature deterioration
- Visible aesthetic flaws that reduce curb appeal
Correct alignment also ensures that the self-sealing strips engage properly, which is crucial during high winds or storms. For more step-by-step guidance, see our guide on how to shingle a roof.

Nail Placement Mistakes
Shingles need to be fastened securely in precise locations. Mistakes here are surprisingly common and highly damaging:
- Too few nails can cause shingles to lift and blow off in strong winds
- Overdriven nails (sunk too deep) reduce holding power and can tear through the shingle
- Underdriven nails (not fully seated) keep shingles from lying flat and sealing properly
- Incorrect placement outside the nail zone compromises water resistance and wind uplift protection
Tip: Nails should be flush with the shingle surface and placed exactly in the manufacturer’s specified nailing strip.

Skipping the Drip Edge
The drip edge is a metal flashing installed at the edges of the roof to guide water into the gutter system and away from the fascia. Skipping this step—or allowing incorrect shingle overhang—can result in:
- Water infiltration behind the gutters
- Rotted fascia boards and siding
- Increased risk of ice dams in colder climates
Although it may seem optional, most local codes—including in Florida—require drip edges on all new installations for a reason.

Incorrect Flashing Installation
Flashing protects roof joints and penetrations—such as around chimneys, vents, and skylights. When poorly installed or sealed, it becomes one of the most common leak points on a roof. Common flashing mistakes include:
- Using incompatible metals that cause corrosion
- Relying solely on sealants instead of proper flashing materials
- Failing to integrate flashing correctly with underlayment and shingles
Proper flashing requires both precision and an understanding of water movement.

Improper Roof Ventilation
Ventilation is often overlooked during installation, but it plays a vital role in maintaining your roof’s structural integrity. Without it, your attic can trap heat and humidity, causing:
- Shingle warping or blistering
- Mold and mildew growth in attic insulation
- Increased cooling costs and shortened roof life
Florida’s hot, humid climate makes ventilation especially critical to prevent moisture-related damage.
Signs You May Already Have These Installation Issues
If your roof is less than 10 years old and you’re seeing any of the following, it could indicate installation errors:
- Shingles lifting or curling at the edges
- Leaks near chimneys or skylights
- Uneven shingle rows or visible gaps
- Water stains on fascia boards
- Hot, musty air in the attic
Spotting these red flags early gives you a chance to correct issues before they lead to bigger problems.
Takeaway: Installation mistakes—whether with nails, flashing, ventilation, or alignment—can silently sabotage your roof’s performance. Understanding these errors helps you ensure your roof is built to last.

Material Selection and Underlayment Errors
Even with flawless installation, using the wrong materials can significantly undermine your roof’s durability—especially in climates like Florida’s, where heat, humidity, wind, and storms push materials to their limits. Choosing low-quality shingles or the wrong type of underlayment can lead to reduced energy efficiency, moisture issues, and a much shorter roof lifespan.
For more insights into selecting the best material for your home, explore types of asphalt shingles based on weather resistance, longevity, and curb appeal.
Let’s break down the most common material-related mistakes and how to avoid them.
Using Low-Quality or Mismatched Materials
Not all shingles are created equal. Budget-friendly options may save money upfront but can fail quickly under stress, especially in areas prone to hurricanes or UV exposure. Likewise, using mismatched roof shingles, such as mixing brands or types, can cause inconsistencies in expansion rates, sealing, and appearance.
Risks of poor material choices include:
- Reduced wind resistance and impact protection
- Faster wear from sun exposure or heavy rains
- Difficulty during repairs or replacements due to mismatched components
For maximum storm durability, consider asphalt shingle roofing with high wind ratings—and if you’re in a humid climate, choose shingles that help prevent algae growth for added longevity.
Quick Tip Box: How to Choose Storm-Resistant Materials
- Look for Class 4 impact-rated shingles for hail and debris resistance
- Choose shingles with a 130+ mph wind rating for storm-prone regions
- Use algae-resistant materials in humid environments like Florida
- Always purchase from reputable manufacturers that offer full system warranties
Choosing the Wrong Underlayment for the Roof Pitch
Roof underlaying acts as your roof’s secondary water barrier. Not sure which underlayment is best? Refer to our roof underlayment types guide to understand the differences.
But not all types are suited for every slope or environmental condition. Using felt paper on a low-slope roof, for example, may not provide adequate moisture protection, increasing the risk of leaks and rot.
Common underlayment options include:
- #15 or #30 felt — budget-friendly but less durable
- Synthetic underlayment — more tear-resistant and moisture-repellent
- Peel-and-stick membrane — best for low slopes or high-risk areas
Key Consideration: The steeper the roof, the more gravity helps shed water; low-slope roofs require better water-blocking materials to prevent pooling.
Skipping Ice & Water Shield in Vulnerable Areas
An ice and water shield is a self-adhering waterproof membrane typically applied in roof valleys, along eaves, and around penetrations. While often viewed as optional in warmer climates, skipping this layer is a mistake—especially in areas like Florida, where torrential rain can mimic the pooling effects of ice dams.
Failure to install this layer can result in:
- Water intrusion under shingles during storms
- Leaks around vents and chimneys
- Long-term deterioration of decking and attic insulation
Standard vs. Climate-Specific Roofing Recommendations
| Component | Standard Roof Application | Florida / Storm-Prone Application |
| Shingles | 3-tab asphalt (basic) | Architectural shingles with high wind rating |
| Underlayment | Felt paper (#15 or #30) | Synthetic or peel-and-stick membrane |
| Ice & Water Shield | Cold-climate valleys only | Valleys, eaves, penetrations (even in warm areas) |
| Ventilation Materials | Basic ridge vents | Enhanced ridge + soffit vent system |
| Fasteners | Standard galvanized nails | Corrosion-resistant or hurricane-rated fasteners |
Takeaway: The materials you choose—and how they’re matched to your climate—can make or break your roofing system. In high-risk areas like Florida, investing in stronger, weather-adapted materials is not optional; it’s essential for long-term performance and peace of mind.
Maintenance Mistakes That Compromise New Roofs
A roof’s durability doesn’t end with a successful installation. Ongoing maintenance is critical to ensure it performs as intended for years to come. Unfortunately, even a perfectly installed roof can fail prematurely if it’s neglected afterward. Homeowners and property managers often overlook small tasks that, if ignored, can escalate into expensive repairs—or full replacements.
Below are the most common maintenance-related mistakes and how to stay ahead of them.

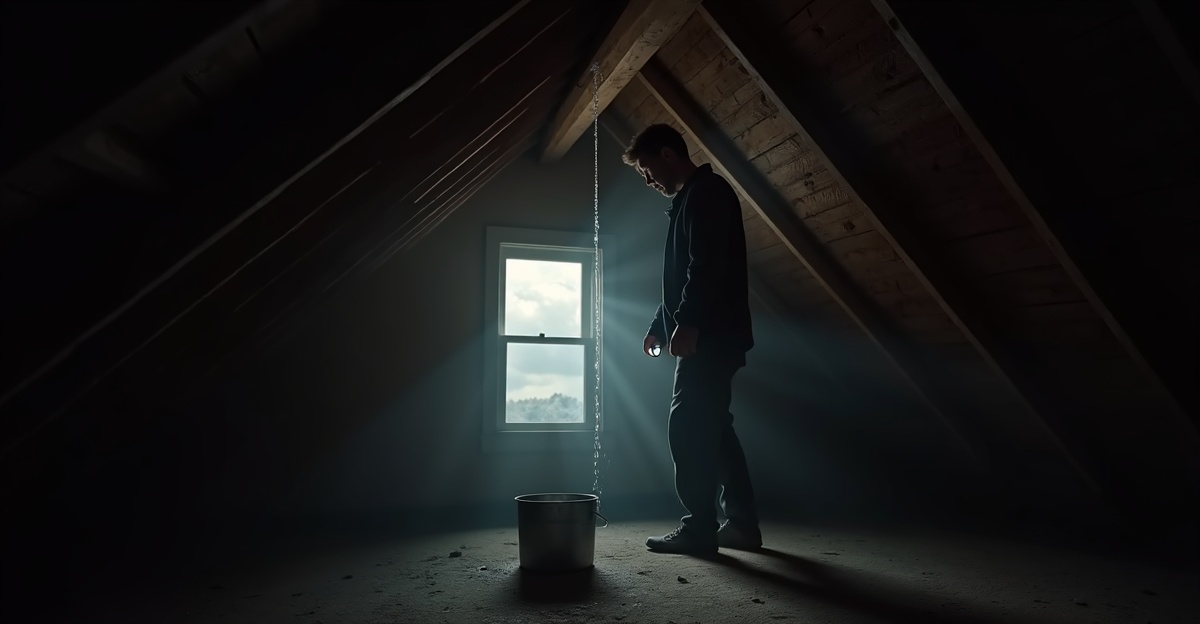
Neglecting Regular Inspections
Many roofing issues begin invisibly, under the surface or in hard-to-reach areas. By the time a leak becomes visible, significant damage may already be done.
Why inspections matter:
- Small cracks or missing shingles can lead to moisture intrusion
- Flashing around chimneys and vents may loosen over time
- Ventilation and attic spaces can show early signs of mold or condensation
For Florida homeowners, routine checks are even more important due to extreme weather.
Checklist: Bi-Annual Roof Inspection Tasks
- Check for missing, lifted, or curled shingles
- Inspect flashing for rust, gaps, or detachment
- Look for moss, algae, or discoloration
- Examine attic for moisture, mold, or daylight through the decking
- Inspect gutters and downspouts for blockages or separation
- Ensure ridge and soffit vents are unobstructed
Schedule inspections at least twice per year—ideally in spring and fall—and always after major storms or hurricanes.
Ignoring Minor Leaks or Damage
A slow drip in the attic or a small stain on the ceiling may seem like a minor nuisance, but it’s often a symptom of a much larger problem caused by roof repair mistakes or installation issues. Residential roof leak repair can prevent major issues. Water intrusion can spread silently, rotting structural components, damaging insulation, and creating an ideal environment for mold growth.
Consequences of ignoring small leaks:
- Deterioration of wooden decking and rafters
- Electrical hazards if water reaches wiring
- Decreased indoor air quality due to mold and mildew
Prompt repairs can prevent thousands of dollars in damage down the line.

Letting Gutters Overflow or Fill with Debris
Your gutters are a frontline defense against water damage. When they’re clogged with leaves, branches, or granules from aging shingles, water backs up and can seep under roofing materials or overflow onto siding and foundations, which shows the importance of gutter systems.
Common results of poor gutter maintenance:
- Roof edge rot and soffit damage
- Water pooling near the home’s foundation
- Ice dams in colder climates (or pooling in valleys during Florida’s rainy season)
Don’t let blocked drainage sabotage your roof.
Tip: Seasonal Maintenance for Storm-Prone Areas
- Before storm season: Clear all gutters, trim nearby trees, and secure loose shingles
- After major weather events: Inspect for damage and clear debris immediately
- In high humidity seasons: Check attic ventilation and look for condensation buildup
Takeaway: Roof care doesn’t stop once the job is done. Consistent, proactive maintenance is the key to protecting your investment—and catching issues before they spiral into major damage.
Design & Planning Oversights That Set Projects Up to Fail
A successful roofing project doesn’t start with hammering nails—it begins with smart, strategic planning. Unfortunately, many costly roofing issues can be traced back to oversights made before the first shingle is even installed.
From mismatched roof pitch to skipped permits, these early-stage mistakes can compromise performance, void warranties, and even lead to failed inspections. Here’s what to watch out for.

Improper Roof Pitch or Slope
The roof’s pitch—its steepness—affects how well it sheds water, what type of materials are appropriate, and how long the system lasts. Using standard asphalt shingles on a roof that’s too flat can cause water to pool and seep beneath the surface, especially during Florida’s frequent downpours.
Why this matters:
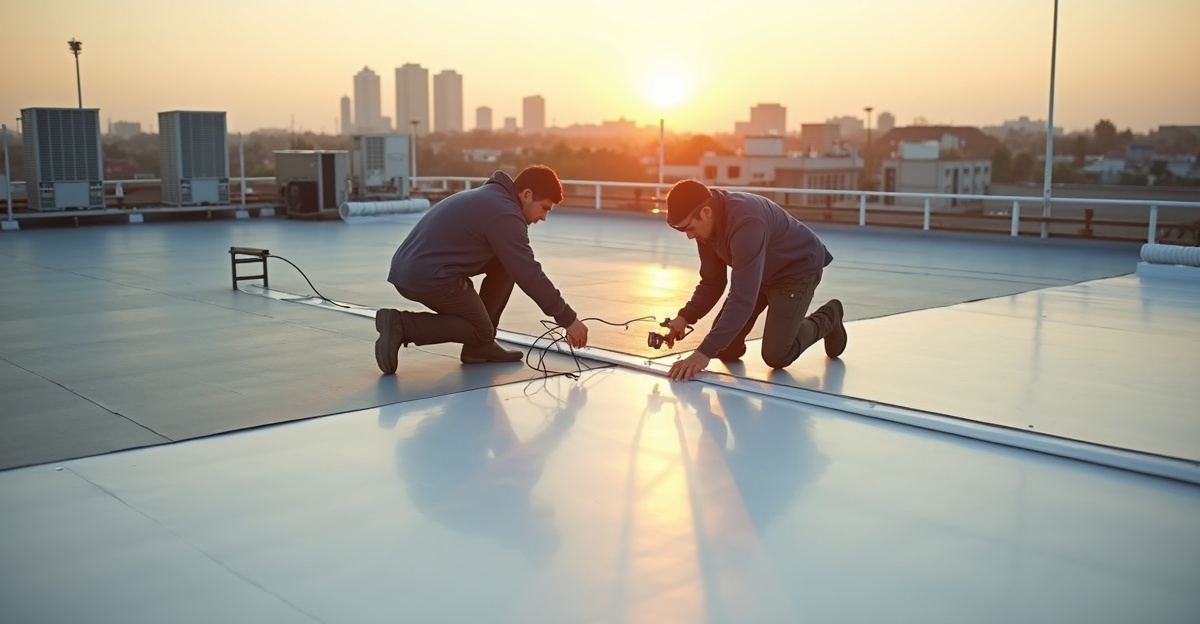
- Low-slope roofs often benefit from specialized flat roof services instead of traditional shingles. (e.g., rolled roofing or membranes)
- Misjudging the pitch can lead to poor drainage and long-term moisture damage
- Manufacturer warranties may be void if shingles are used outside their approved pitch range
Tip: Always measure roof pitch accurately during the planning stage and consult material guidelines before selecting shingles.
Overlooking Attic Insulation and Ventilation Needs
A roof doesn’t operate independently from the rest of the home. Poor attic insulation or ventilation can lead to excess heat buildup, condensation, and ultimately damage to both shingles and interior structures.
Common consequences include:
- Accelerated aging of shingles from excessive attic heat
- Mold growth due to trapped humidity
- Ice damming in colder climates or condensation issues in humid ones (like Florida)
Proper airflow through ridge vents, soffit vents, and gable vents, combined with adequate insulation, helps maintain a stable attic temperature and extends the roof’s life.
Roof insulation and ventilation are key to energy efficiency and durability.

Lack of Permits or Local Code Compliance
Skipping permits or failing to follow local codes isn’t just risky—it’s illegal. In Florida, roofing projects must meet strict standards set by the Florida Building Code, especially for wind uplift resistance and hurricane safety.
Potential pitfalls of skipping permits:
- Fines and delays if discovered by inspectors
- Problems during home resale or insurance claims
- Increased liability if structural issues arise
Even if a contractor says a permit “isn’t necessary,” it’s your responsibility as the property owner to ensure proper compliance.
Planning Phase Checklist: Questions to Ask Before You Start
- Is my roof pitch compatible with the type of shingles I want to use?
- Does my attic have proper insulation and ventilation to support roof longevity?
- Do I need a permit, and what codes must be followed in my area?
- Are my contractor’s materials and installation practices compliant with local and manufacturer guidelines?
- Have I accounted for storm or hurricane-resistant upgrades if I live in a high-risk zone?
Takeaway: Cutting corners in the planning phase almost always costs more in the end. By addressing pitch, ventilation, and code compliance early, you’ll avoid preventable failures and build a roof that’s made to last.
Contractor & DIY Red Flags to Watch Out For
Even the best roofing materials and designs can fail if the work is put in the wrong hands—or if critical steps are skipped during a DIY project. Whether you’re hiring a contractor or considering tackling the job yourself, it’s essential to recognize warning signs that could signal trouble.
If you’re unsure whether a DIY roofing approach is right for you, this guide on DIY vs. professional roofing breaks down the key considerations.
Being proactive during contractor selection (or honest about your own capabilities) can save you thousands in avoidable repairs.

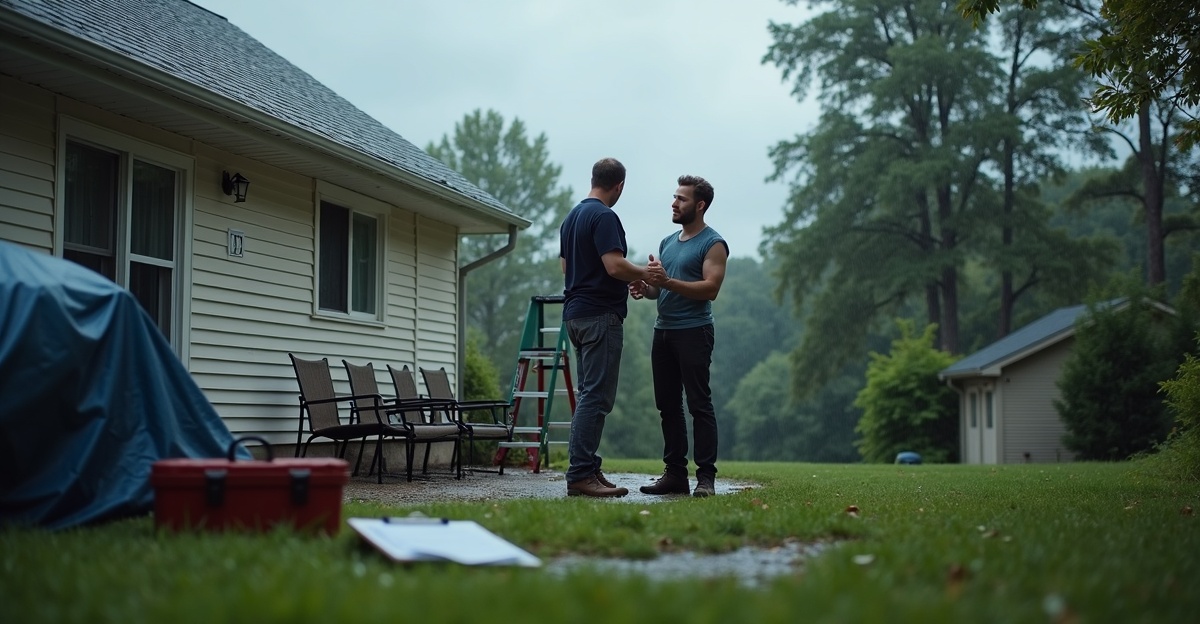
Hiring Unlicensed or Uninsured Contractors
This is one of the most common—and riskiest—mistakes property owners make. Unlicensed contractors often offer lower bids, but the cost savings can come at a high price.
Why it matters:
- No state oversight means no accountability if something goes wrong
- Insurance claims may be denied if the work isn’t done by a licensed professional
- You could be liable for injuries on-site if the contractor lacks workers’ comp insurance
Florida Tip: Roofing contractors must be licensed by the Florida Department of Business and Professional Regulation (DBPR). Always verify credentials using official state lookup tools before signing a contract.
No Warranty Coverage or Vague Contracts
A legitimate contractor will provide a written contract and clearly outline warranty coverage for both materials and labor. If a roofer resists putting things in writing or offers vague timelines and costs, that’s a red flag.
What to look for in a roofing contract:
- Detailed scope of work
- Start and completion dates
- Total project cost and payment schedule
- Manufacturer warranties and contractor workmanship guarantees
- Proof of licensing and insurance
If it’s not documented, it doesn’t count. Protect yourself by ensuring every aspect of the agreement is clear and enforceable.

Cutting Corners to Save Time or Money
DIY projects and low-cost bids can be tempting, but rushing a roofing job often leads to expensive consequences. Common shortcuts include:
- Skipping the underlayment to save time
- Reusing old flashing or fasteners
- Layering new shingles over old ones without inspection
- Not installing starter shingles or ridge caps
These shortcuts may go unnoticed initially but can result in leaks, poor ventilation, and premature roof shingle failure within just a few seasons.
Takeaway: The wrong contractor—or the wrong DIY decision—can turn a roof replacement into a costly headache, making residential roof replacement mistakes expensive to fix. By spotting red flags early and asking the right questions, you set the foundation for a successful, long-lasting roof.
Long-Term Consequences of Installation Mistakes
Roofing mistakes aren’t always immediately obvious—but over time, even a small oversight can snowball into serious problems. What starts as a misaligned shingle or missing drip edge can quietly evolve into moisture damage, structural decay, and major out-of-pocket expenses.
Understanding the long-term consequences of unaddressed installation errors is essential for protecting both your property and your health.

Mold Growth and Health Impacts
When water seeps beneath shingles or flashing due to improper installation, it often finds its way into the attic, insulation, or wall cavities. In Florida’s warm and humid environment, this trapped moisture creates the perfect breeding ground for mold.
Health risks associated with mold exposure include:
- Respiratory issues such as coughing, wheezing, and asthma flare-ups
- Allergic reactions and skin irritation
- Increased vulnerability in children, seniors, or immunocompromised individuals
Beyond health concerns, mold remediation can be costly—especially if it spreads unnoticed over time.
Structural Damage and Rot
Water damage can spread to roof trusses, weakening structural integrity. If roofing mistakes go unchecked, moisture can deteriorate critical structural elements such as roof decking, rafters, and fascia boards.
Common outcomes include:
- Sagging or soft spots in the roof
- Rotting wood beams, reducing load-bearing capacity
- Delamination of plywood sheathing
- Ceiling stains and drywall deterioration inside the home
Structural repairs often require partial or full roof removal, compounding the cost and disruption.
Insurance Implications
Insurance may not always cover damage caused by poor installation or maintenance neglect. If your insurer determines that a leak or structural issue was avoidable—or the result of using an unlicensed contractor—they may deny your claim entirely.
Potential consequences:
- Out-of-pocket expenses for major repairs
- Reduced property value and resale difficulty
- Legal disputes with uninsured or unlicensed contractors
Takeaway: Unaddressed roofing mistakes don’t stay small—they grow into costly, hazardous problems that affect your home, your wallet, and your health. Early awareness and proper installation are your best defense.

How to Prevent These Mistakes (and What to Do If You Suspect Them)
The good news? Most roofing mistakes are entirely preventable—with the right planning, materials, and oversight. Whether you’re preparing for a new installation or evaluating existing work, taking proactive steps can help you learn how to avoid common roofing issues.
Here’s how to protect your roof investment from day one—and what to do if something doesn’t seem right.
Set the Standard Early: Work With Proven Professionals
Start by partnering with a roofing contractor who meets high industry standards for licensing, materials, and workmanship. Look for companies that:
- Are fully licensed and insured
- Offer transparent, written contracts and warranties
- Use manufacturer-approved installation techniques
- Have a proven reputation across multiple property types
For example, professional firms like RayPro Roofing & General Contracting follow strict quality assurance protocols, from material selection to final inspection, ensuring every step of the process meets code and exceeds expectations—without cutting corners or relying on guesswork.
Preventative Checklist: Before, During & After Installation
| Phase | What to Check |
| Pre-Installation | ✅ Verify contractor license and insurance ✅ Confirm material suitability for climate ✅ Check slope and ventilation needs ✅ Review permit and code requirements |
| During Installation | ✅ Ensure correct nail placement and shingle alignment ✅ Confirm drip edge and flashing are installed properly ✅ Inspect underlayment and ice & water shield application ✅ Monitor job site cleanliness and safety practices |
| Post-Installation | ✅ Schedule a final walkthrough with contractor ✅ Request documentation of warranty coverage ✅ Inspect for visible defects or uneven rows ✅ Set reminders for regular maintenance checks |
When to Call in a Professional Roofer
If you notice leaks, stains, missing shingles, or suspect your roof wasn’t installed properly, it’s time to bring in a certified roofing professional for a comprehensive audit. Look for signs like:
- Persistent attic moisture or musty odors
- Unusual energy bill increases (a ventilation red flag)
- Shingles that appear misaligned, lifted, or curling
- Watermarks near chimneys, skylights, or vents
Even if no damage is currently visible, a post-installation inspection can catch hidden issues early—before they become expensive repairs. If you suspect issues, don’t wait—get in touch with a trusted contractor. Contact Us to schedule an inspection.
Takeaway: The key to a long-lasting roof isn’t just good materials—it’s vigilance. With proper planning, qualified installation, and regular follow-ups, you can avoid the most costly roofing mistakes and ensure your home stays protected for years to come.
Frequently Asked Questions
What are the most common mistakes during shingle roof installation?
Some of the most frequent errors include improper shingle alignment, incorrect nail placement, skipping essential components like the drip edge or underlayment, and poor flashing around chimneys or skylights. Each of these can lead to water intrusion, shingle failure, or long-term structural issues if not addressed.
How do I know if my roof was installed incorrectly?
Telltale signs of a bad installation include:
Shingles that lift, curl, or appear misaligned
Leaks or water stains in the attic or ceiling
Missing or improperly placed flashing
Uneven rows or gaps between shingles
Premature granule loss or discoloration
If you’re noticing any of these symptoms within a few years of installation, it’s worth having a licensed roofer perform an inspection.
Can poor roof ventilation really cause shingle damage?
Absolutely. Inadequate ventilation traps heat and moisture inside the attic, which can cause shingles to warp, blister, or deteriorate faster than expected. It also promotes mold growth and can reduce your home’s energy efficiency—especially in hot, humid climates like Florida’s.
Is it okay to install a new roof over old shingles?
While some building codes allow “reroofing” (installing new shingles over an existing layer), it’s not recommended in most cases. Doing so can:
Hide existing damage
Add extra weight to the roof structure
Prevent proper sealing and ventilation
Shorten the lifespan of the new shingles
For best results, it’s wiser to tear off the old roof and start fresh—especially if you want full warranty coverage.
What type of roofing is best for hurricane-prone areas?
Homes in high-wind zones should use shingles rated for 130+ mph wind resistance, but even top-tier materials like architectural shingles installed wrong won’t provide the needed protection. These are thicker and more durable than standard 3-tab shingles. It’s also critical to use high-performance underlayment, ice and water shield in valleys, and storm-rated fasteners to reinforce the system.