Fence Installation Process: Step-by-Step Guide
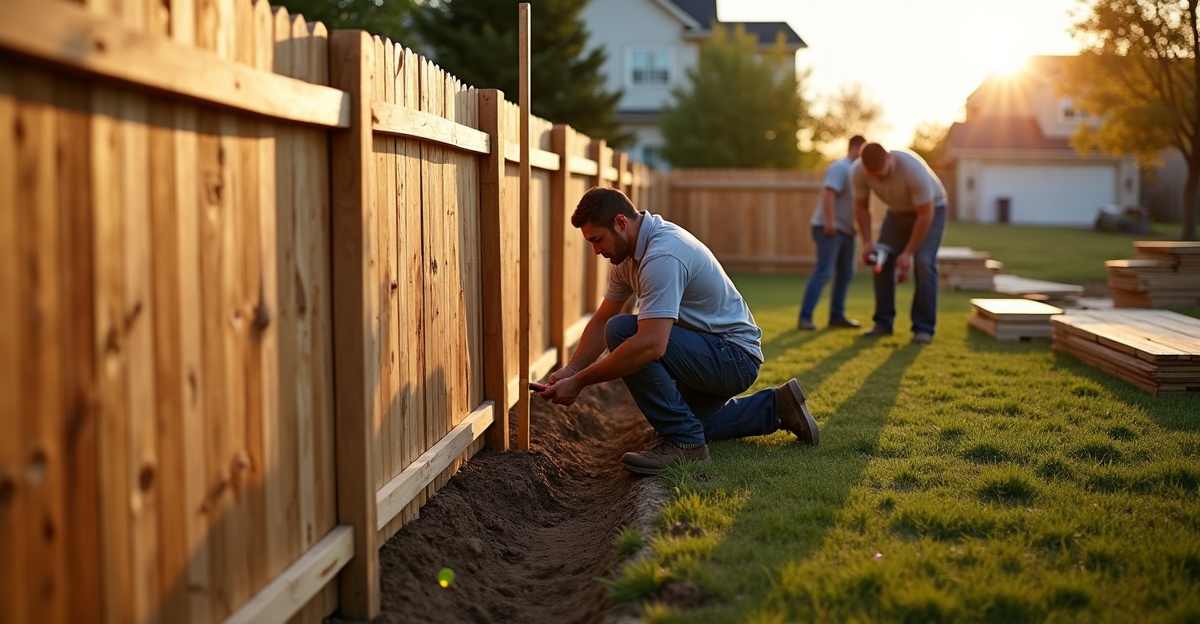
The fence installation process follows a clear, step-by-step path that starts with property line verification and ends with final inspection and cleanup. In this guide, we explain what happens at each stage, from permits and material selection to post setting, gate installation, and compliance requirements for residential and commercial properties.
Key Takeaways
- The fence installation process begins with site evaluation, property line verification, and utility marking to prevent legal issues and costly mistakes.
- Material selection, budget planning, and written estimates directly affect durability, maintenance requirements, and long-term return on investment.
- Permits, HOA approvals, and local code compliance must be confirmed before digging to avoid fines or forced removal.
- Correct post depth, proper concrete curing, and slope adjustments prevent leaning, sagging, and early failure.
- Final steps include secure panel attachment, reinforced gate hardware, a thorough walkthrough inspection, and complete site cleanup.
What You Should Expect From a Professional Fence Installation Process
A clear fence installation process keeps the job predictable and prevents costly surprises. We walk every client through each phase so there’s no confusion once work starts.
Most projects follow the same structure: planning, property verification, permits, site prep, post setting, panel installation, gate installation, final inspection, and cleanup. That structure keeps residential and commercial properties on schedule and compliant.
For most homes, installation takes 1–3 days once permits and approvals are in place. Larger yards, steep slopes, or custom gates can extend that timeline slightly. Commercial properties often run several days to multiple weeks depending on square footage, security features, and phased scheduling to avoid disrupting operations.
Residential and commercial sites differ in key ways. Homeowners focus on privacy, safety, HOA approvals, and neighborhood relationships. Commercial properties require asset protection, controlled access, ADA considerations, and compliance documentation. Each municipality sets its own rules for height, materials, and placement, so local confirmation always comes first.
We believe in written estimates, clearly defined scope, and step-by-step communication. That transparency protects your budget and keeps expectations aligned from day one.
Site Evaluation and Property Line Verification: Start Here or Risk Costly Mistakes
Every fence installation process begins with a thorough site walk. Skipping this stage is where most problems start.
We verify property lines against an existing survey whenever possible. If the boundary is unclear, we recommend commissioning a professional survey before digging. Installing a fence inches over the line can trigger neighbor disputes, legal headaches, and forced removal.
Next, we evaluate slope, grading, and drainage. Clay and sandy soils have different drainage characteristics, which can affect how post foundations are planned and reinforced. We also check for rock beds, buried debris, and large tree roots that can affect post alignment.
Ignoring these issues causes leaning posts, standing water, frost heave, and premature failure. Careful planning prevents callbacks and repair costs later.
Calling 811 before digging is mandatory, and underground utilities must be marked before excavation begins. Cutting a gas, electrical, or communication line creates safety risks and serious delays.
Residential properties benefit from early neighbor communication. A quick conversation before installation avoids boundary misunderstandings.
Commercial properties require additional due diligence. We confirm easements, fire lanes, ADA access routes, loading dock clearance, and vehicle turning radiuses. Compliance mistakes on commercial sites can impact inspections and insurance requirements.
The process should never start with digging. It starts with verification.
Design, Material Selection, and Budget Planning: Aligning Performance With ROI
Material choice affects durability, maintenance, appearance, and long-term cost. The fence installation details matter most at this stage.
Here’s how common materials compare:
- Wood: Great for privacy and natural appearance. Requires periodic sealing or staining to prevent rot and warping.
- Vinyl: Low maintenance and clean-looking. Resists moisture but requires proper installation to prevent cracking in extreme temperatures.
- Aluminum: Decorative, corrosion-resistant, and pool-compliant in many regions.
- Chain link: Cost-effective and security-focused. Privacy slats can be added for screening.
- Steel posts vs. wood posts: Steel increases structural reliability and reduces long-term sagging or rot.
Residential projects often center on privacy, pet containment, height restrictions, and HOA approvals. Alignment with landscaping and home style also matters.
Commercial projects emphasize durability and lifecycle cost over lowest upfront price. Steel-reinforced posts, controlled access gates, keypad systems, and documentation for compliance tracking are common upgrades. The goal is asset protection and operational reliability.
Budget drivers typically include material type, total linear footage, fence height, terrain challenges, gate hardware, and demolition of an existing fence. A clear written estimate prevents scope creep and change orders mid-project.
If cost planning is a priority, we break down pricing in simple terms so there are no surprises. For a deeper look at pricing factors, you can review fence installation cost factors on our blog.
For property owners ready to move forward, our professional fence installation services cover both residential and commercial builds with clearly documented scopes.
Permits, Codes, and Compliance: Protect Your Investment Before Work Begins
Most municipalities regulate fence height, placement, and materials. Requirements vary locally, so verification with your city or county is essential before installation.
Common residential restrictions include maximum height limits, setbacks from sidewalks and property lines, and pool barrier regulations for safety compliance
HOA communities typically require written approval before construction starts. Skipping that step can result in fines or mandatory removal.
Commercial properties face additional standards. ADA access routes must remain unobstructed. Fire code clearances must be maintained. Security fencing around certain facilities may require documentation and inspection records.
Unpermitted work can lead to fines, resale complications, or required demolition. Addressing compliance early protects your investment and timeline.
We assist with coordinating paperwork, submissions, and required inspections. Clear documentation reduces delays and keeps projects moving forward without confusion.
Preparation, Post Setting, and Structural Framing: The Foundation of a Fence That Lasts
Once approvals are secured, on-site work begins with precise layout marking. Stakes and string lines define straight runs and consistent spacing.
Post holes are typically dug to about one-third of the post height, adjusted to meet local frost depth requirements. In colder regions, failing to install below the frost line can cause heaving and long-term instability.
Concrete-set posts must cure properly before panels attach. Rushing this stage leads to leaning and misalignment.
Sloped terrain requires either stepped panels or rackable systems that follow grade. Proper adjustment prevents awkward gaps at the bottom.
Real-world challenges often appear during excavation. We encounter buried concrete, unexpected rocks, tree roots, and rain-softened soil. Weather delays can affect curing time. Experienced crews adjust without compromising structural integrity.
Strong framing reduces future problems like gate sagging and panel warping. Steel posts can significantly extend lifespan compared to untreated wood. Drainage planning also prevents standing water around post bases.
We minimize disruption by coordinating work hours, maintaining organized staging areas, and cleaning up daily debris. On commercial sites, phased scheduling keeps tenants and operations running with minimal interruption.
Panels, Gates, Hardware, Inspection, and Cleanup: Finishing Strong
With posts set and cured, panels or pickets are installed level and plumb. Fasteners are secured properly to prevent future loosening.
Gates receive special attention. Heavy-duty hinges support weight and reduce sagging. Latch zones are reinforced to handle frequent use. For residential properties, smooth latch operation improves child safety and pet containment.
Commercial installations may include controlled access systems, keypad entry, vehicle gates, and documented compliance records. These elements must integrate with security procedures and daily traffic flow.
Noise during installation is normal. Post-hole digging, cutting materials, and equipment operation create temporary disruption. Most residential jobs wrap up quickly once this stage begins.
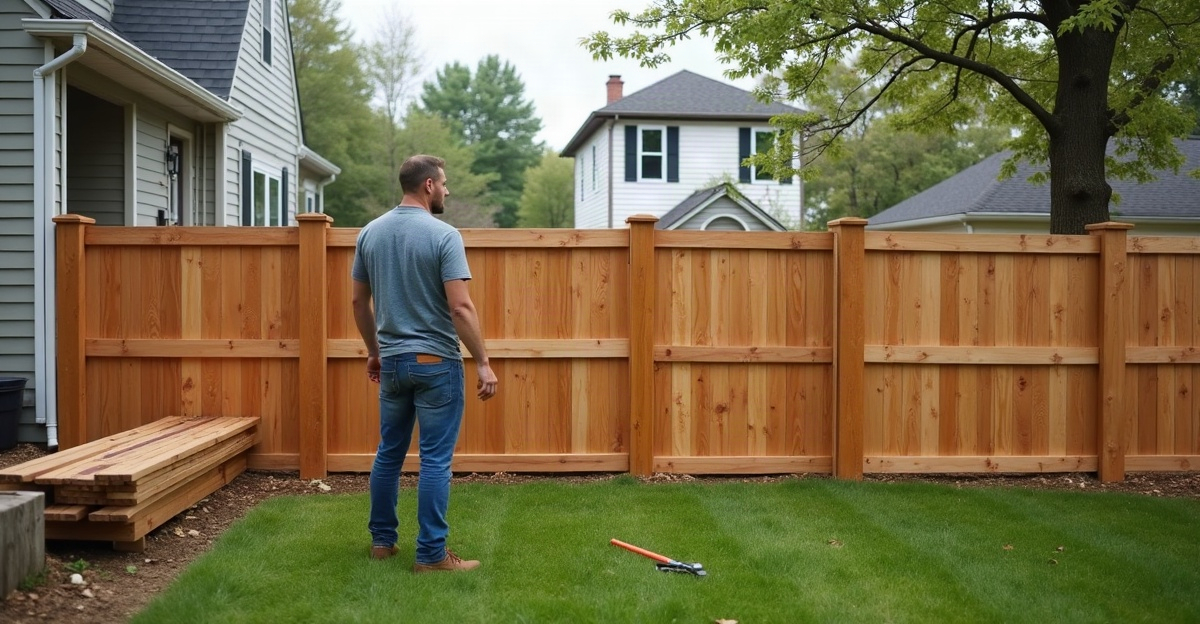
Before leaving, we conduct a full walkthrough. Alignment, gate swing, hardware tension, and overall appearance are checked carefully. Debris is removed. Old fencing materials are hauled off if included in scope. Soil gaps are filled, and landscaping is touched up where needed.
If repairs rather than replacement are under consideration, our guide on how to repair a broken fence outlines when a fix makes sense versus a full rebuild.
A fence should look clean, operate smoothly, and stand straight from day one.
If you’d like a step-by-step plan customized to your property, we’re happy to walk the site with you and explain the fence installation process in clear terms before any work begins.
Frequently Asked Questions
How long does the fence installation process usually take?
The fence installation process typically takes 1–3 days for most residential projects after permits and approvals are secured. Larger properties, difficult terrain, custom gates, or commercial installations may require additional time. Weather conditions and concrete curing can also affect the overall project timeline.
Do I need a permit before starting the fence installation process?
Many cities and counties require permits before a fence can be installed. Local regulations may govern fence height, placement, setbacks, and approved materials, while HOA communities often require written approval. Verifying these requirements before construction helps prevent fines, project delays, or mandatory fence removal.
What factors affect the cost of the fence installation process?
The total cost depends on the fence material, linear footage, height, terrain, gate options, demolition of an existing fence, and labor requirements. Upgrades such as steel posts, automated gates, or specialty hardware can also increase the investment. A detailed written estimate helps you understand the full scope and avoid unexpected expenses.
What happens if underground utilities are not marked before fence installation?
Failing to mark underground utilities can result in damaged gas, electrical, water, or communication lines, creating safety hazards and costly repairs. Before digging begins, property owners should contact their local utility marking service so underground infrastructure can be clearly identified and avoided during excavation.
What should I inspect after the fence installation process is complete?
After installation, inspect the fence to ensure posts are secure, panels are level, gates swing smoothly, and all hardware is properly tightened. Confirm that the site has been cleaned, debris removed, and any disturbed landscaping restored. A final walkthrough with the installer helps identify and address any remaining issues before the project is considered complete.