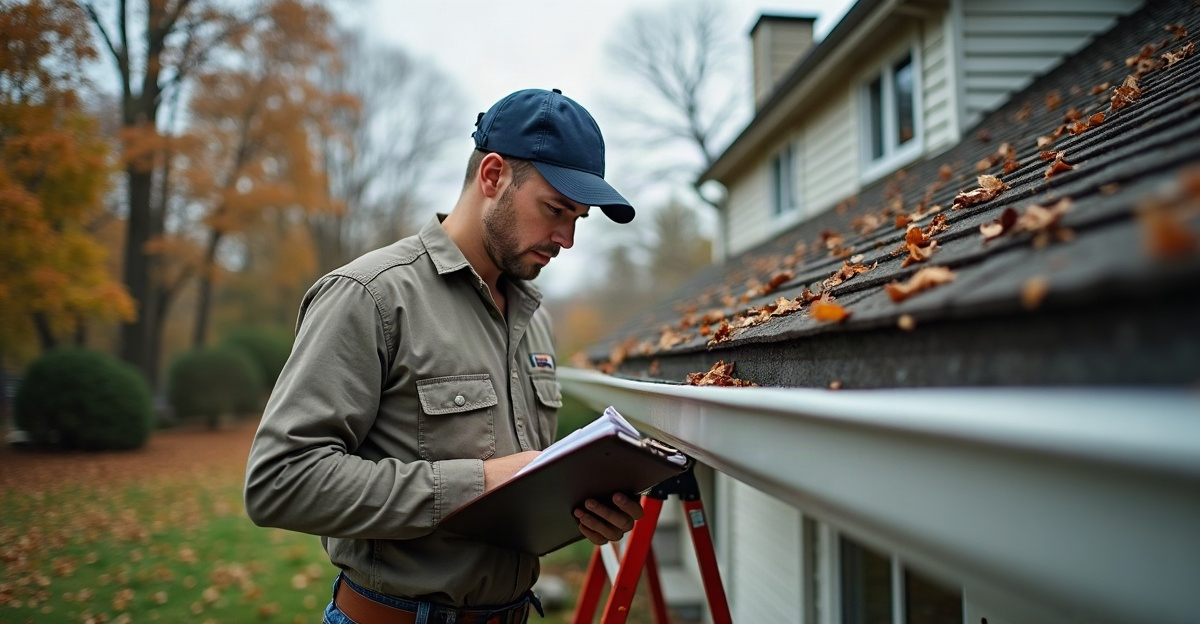
How to Replace Missing Roof Shingles
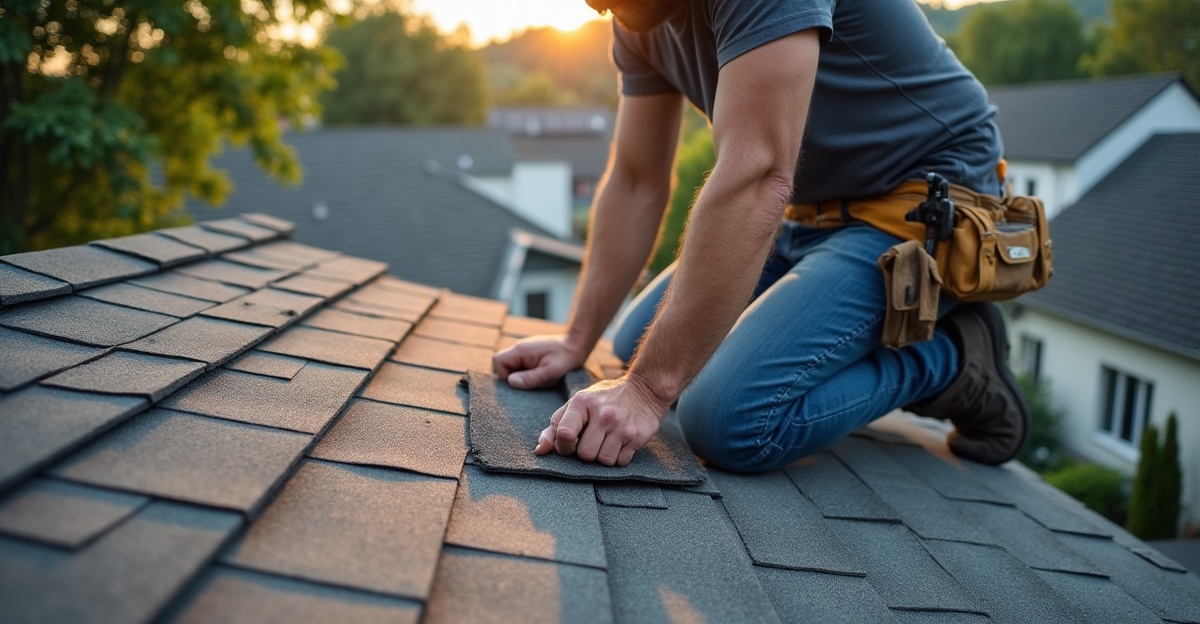
Learning how to replace missing shingles starts with recognizing that a single exposed area can invite water intrusion, UV damage, and wind uplift that impact the underlayment and decking below. We treat every missing shingle as a structural concern, not a cosmetic flaw. In this guide, we explain how we replace missing roof shingles safely and correctly, and we show how to decide whether we face a simple repair or a deeper roof system problem.
Key Takeaways
- A missing shingle is not just cosmetic; it can weaken surrounding shingles and lead to progressive roof damage if we ignore it.
- We always confirm the damage is isolated and the decking is solid before we attempt a repair.
- We use matching shingles, place nails along the correct nail line, and apply roofing cement to reseal lifted tabs.
- We avoid DIY repairs on steep, multi-story, unstable, or storm-damaged roofs where safety and warranty risks increase.
- Repeated shingle loss, leaks, or soft decking often signal a larger issue that requires a professional inspection.
A Missing Shingle Isn’t Just Cosmetic — What It Means for Your Roof
A missing shingle leaves your roof system exposed immediately. Even one gap can allow water intrusion, UV damage, and wind uplift to reach the underlayment and decking below.
Shingles work as a layered system. Asphalt shingle installation guidelines explain that missing shingles can expose underlying components and reduce the roof system’s weather resistance. Wind can get underneath, loosen adjacent tabs, and cause progressive failure if the issue isn’t fixed promptly.
We see several common causes behind shingle loss:
- High winds and storm damage
- Aging or brittle materials
- Improper installation
- Nail placement outside the correct nail line
- Underlying deck movement or deterioration
When homeowners look up how to replace missing shingles, they often assume it’s a small cosmetic repair. Sometimes it is. Other times, it’s a symptom of something bigger.
Warning signs that go beyond a simple patch include attic leaks, ceiling water stains, soft or spongy decking underfoot, repeated shingle blow-offs in the same area, visible mold, or structural sagging. If shingles keep detaching in one section, the issue may involve fastening patterns, adhesive failure, or deck instability.
For commercial properties, isolated shingle loss can signal broader system failure. That affects compliance, impacts warranties, reduces asset value, and increases liability exposure. In those cases, it’s less about replacing a single tab and more about protecting the building’s long-term performance.
Before deciding how to replace missing roof shingles, clarify the scope. Are we dealing with one lost shingle? A small section? Or a pattern that points to aging or structural concerns? That distinction matters.
Safety First: When It’s Smart to DIY — and When It’s Not
Roof work carries real risk. According to OSHA’s roofing fall protection guidance, falls increase significantly as roof pitch and working height increase. We don’t recommend working on steep slopes, multi-story homes, or any roof that feels unstable.
Safe conditions are non-negotiable. Never attempt repairs in wet, icy, or windy weather. Use a stable extension ladder set on level ground. Wear non-slip footwear, gloves, and eye protection. If the roof pitch warrants it, use a properly anchored safety harness.
Understanding how to replace a few missing shingles makes sense when damage is small and localized. It does not mean taking on advanced repairs that should be handled by trained professionals.
We advise against DIY repairs if:
- The roof is steep or more than one story high
- Decking feels soft or compromised
- Storm damage appears widespread
- You’re unsure about proper nail placement or shingle type
Improper installation can void manufacturer warranties. Incorrect fasteners, wrong nail placement, or failure to reseal tabs can shorten the roof’s service life. Insurance claims may also be affected if post-storm repairs are undocumented or incorrectly completed.
Commercial building owners have even more at stake. Maintenance logs, compliance standards, and liability risks should guide repair decisions. In many cases, documentation from a licensed contractor protects long-term ownership.
If you’re confident the issue is isolated, learning how to replace missing roof shingles can be a practical solution. If conditions are questionable, bring in a professional.
Tools and Materials You’ll Need Before You Start
Preparation determines whether a repair lasts or fails in the next wind event. Before starting, confirm the shingle type and color match as closely as possible. If you’re unsure, reviewing guides like best roofing shingle options or 3-tab vs architectural shingles can help identify what’s already installed.
For a standard asphalt shingle repair, gather:
- Matching replacement shingles
- Galvanized roofing nails
- Hammer
- Flat pry bar
- Utility knife
- Roofing cement
- Ladder and safety harness if needed
Before installing new material, inspect the surrounding area carefully. Lift adjacent shingles gently to check for cracked tabs, exposed nails, and deteriorated underlayment. Look at flashing and confirm the decking underneath feels solid. If the substrate is soft or rotted, replacing surface shingles won’t solve the issue.
Commercial properties require confirmation that replacements align with system specifications and warranty requirements. Using mismatched or incompatible materials can create performance issues later.
Doing this prep work thoroughly ensures that when you move forward with how to replace missing shingles on a roof, you’re fixing the root problem, not covering it up.
Step-by-Step: How to Replace Missing Shingles the Right Way
Precision matters here. Rushing the process leads to leaks and future blow-offs. Work slowly and methodically, just like a professional crew would.
Start by carefully lifting the shingles directly above the missing one. Use a flat pry bar to break the adhesive seal without cracking the surrounding tabs. Asphalt shingles are brittle, especially in cooler temperatures, so apply steady, controlled pressure.
Next, remove the nails from the damaged shingle and any nails in adjacent shingles that prevent removal. Slide the pry bar under each nail head and lift gently. Avoid tearing the surrounding material.
Once the area is clear, slide the new shingle into place. Align it with the existing courses so the exposure matches the row below. The bottom edge should be even with neighboring shingles.
Secure the replacement with roofing nails placed along the manufacturer’s recommended nail line, following the original installation pattern. Most standard asphalt shingles use four nails per shingle unless high-wind specifications require more. Nail heads should sit flush, not overdriven and not raised.
After fastening, apply a small amount of roofing cement:
- Under lifted tabs to reseal them
- Over exposed nail heads for added protection
Press the shingles down firmly to ensure full adhesion.
Finish with a final inspection. Confirm shingles lie flat, adhesive bonds are secure, and no nails are visible. That’s how to replace a few missing shingles properly, without creating new problems.
If you want a broader understanding of installation best practices, reviewing resources like common roofing mistakes and how to shingle a roof can reinforce correct techniques and proper sequencing.
Cost Considerations and What to Expect
DIY repairs usually involve modest material costs, especially if tools are already on hand. The biggest investment is time and physical effort.
Professional repair pricing depends on roof height, slope, accessibility, and the extent of the damage. Replacing a few shingles is less expensive than repairing decking or addressing underlayment damage. If leaks are present, understanding roof leak repair costs can provide additional insight into potential expenses.
Commercial buildings often face higher costs due to safety compliance measures and documentation requirements.
Repeated repairs in the same area may signal that the roofing system is approaching the end of its service life. In that case, continued patching becomes a short-term approach rather than a long-term solution. Investing in proper repair protects insulation, interior finishes, and structural framing. It also prevents small issues from turning into expensive restoration projects.
Results depend on the roof’s overall condition. A well-maintained roof responds better to isolated repairs than one already in decline.
When a Small Repair Is Enough — and When to Call a Professional Roofer
A small repair is typically sufficient when damage is isolated, decking remains solid, no active leaks are present, and surrounding shingles are in good condition. In those cases, understanding how to replace missing roof shingles can restore protection quickly.
Call a professional roofer if shingles continue to loosen, attic leaks appear, decking feels soft, mold is visible, or widespread storm damage is suspected. Post-storm conditions often require a full inspection to document damage properly for insurance purposes. Our storm damage repair services address those scenarios with clear reporting and repair planning.
For residential homeowners who want reassurance, scheduling an inspection through our residential roofing team provides clarity without pressure. Commercial owners benefit from documented assessments that protect warranties and long-term asset value. When repairs are beyond minor fixes, our roof repair services handle everything from isolated shingle replacement to larger system corrections.
If uncertainty remains, reach out through our contact page for a straightforward evaluation. We’ll explain what’s happening, outline practical next steps, and help you decide whether learning how to replace missing shingles yourself makes sense or if professional service will better protect your property long term.
Frequently Asked Questions
How do you replace missing roof shingles without causing more damage?
Start by lifting the shingles above the missing section with a flat pry bar, removing the old nails, and sliding a matching replacement shingle into place. Secure it along the correct nail line with galvanized roofing nails, then apply roofing cement under lifted tabs and over exposed nail heads. Finish by checking that the new shingle sits flat and aligns with the surrounding roof.
Can you replace just one missing shingle, or do you need to repair a larger section?
Yes, you can replace a single missing shingle if the surrounding shingles, underlayment, and roof decking are in good condition. However, repeated shingle loss, soft decking, or signs of leaks may indicate a larger roofing issue that requires a more extensive repair or professional inspection.
What causes roof shingles to go missing in the first place?
Missing shingles are commonly caused by high winds, severe storms, aging materials, improper installation, or incorrect nail placement. Structural movement or deteriorated roof decking can also weaken shingles over time. Identifying the underlying cause helps prevent future shingle loss after the repair is complete.
When should you avoid a DIY missing shingle repair?
DIY roof repairs should be avoided on steep roofs, multi-story homes, or when the roof is wet, unstable, or heavily damaged by a storm. If you notice leaks, mold, sagging, or soft decking, it’s safer to have the roof inspected by a professional before attempting any repairs.
How much does it cost to replace missing roof shingles?
The cost depends on the number of shingles being replaced, roof accessibility, and whether there is hidden damage beneath the surface. A simple repair is usually affordable, but expenses increase if the underlayment or roof decking also needs replacement. Addressing missing shingles early can help prevent more costly structural repairs later.